To propagate pothos cutting helps exploit the shoots cut from the mother plant to obtain many new seedlings that are rooted and ready to grow pothos.
Propagating pothos is easy, but you must understand some simple concepts to obtain strong and well-rooted cuttings.
In this post, I will explain how I propagate my Pothos by cutting without any shock and tell you all you need to succeed.
You can do this even if you are a complete beginner. It doesn’t require special skills; follow the steps in this article. Let’s jump straight to the main topic.
When To Cut Pothos To Propagate
You are free to make Pothos cuttings at any time of the year. But, we see the best results During Spring And Summer.
The Cutting And The Mother Plant Benefit From The Long, Bright Days And Higher Temperatures During Spring And Summer.
I must advise you to avoid propagating pothos plants during the fall and winter seasons because they have less chance to succeed under stress.
The point is this: if you cut the shoot when the plant is actively growing, it will be much more responsive, take less time to overcome stress and root sooner.
This is because the Pothos mother plant’s metabolism is faster and transmitted to the cutting.
We must then consider the amount of light, which, if it is abundant (not direct), allows the plant to carry out more photosynthesis and grow faster.
That said, pothos cuttings can also be taken during the winter, although the roots will grow more slowly, and the success rate will be lower.
Where Do I Cut Pothos For Propagation?
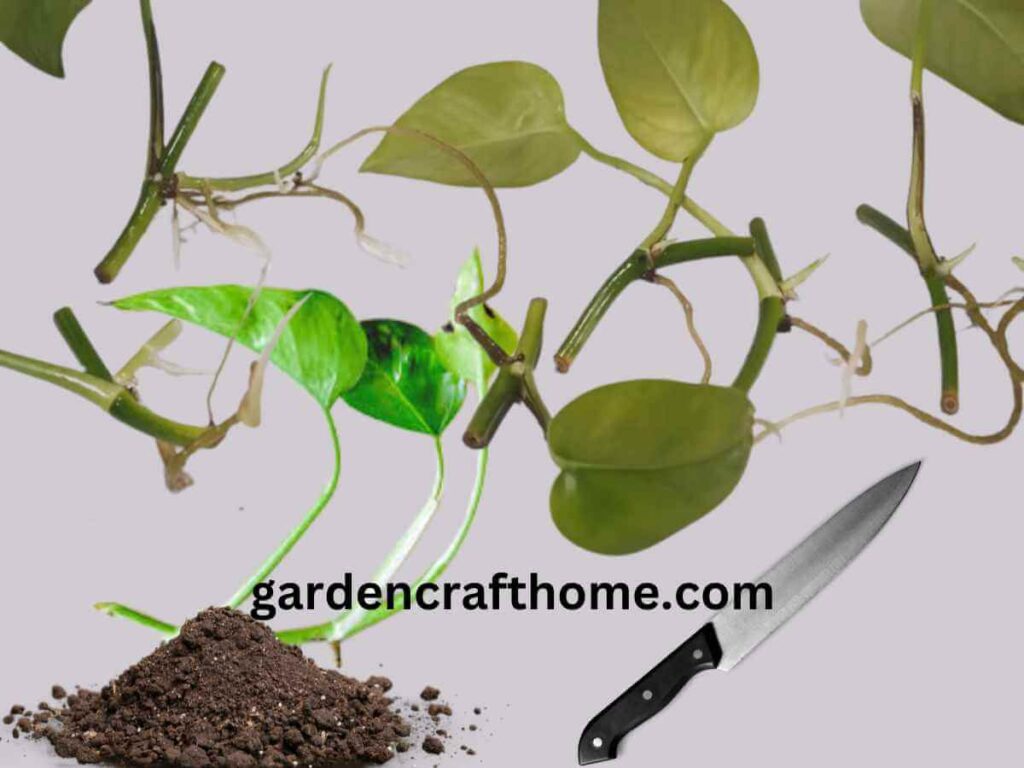
You must cut the stem (or shoot) along the internode to obtain Pothos cuttings without issues.
As you can see, Each cutting contains a minimum of one node from which root systems will develop since these are the nodes that connect one leaf to another.
The same applies both in Monstera. To learn how I cut my Monstera, click here.
You can, therefore, keep a piece of shoot with several nodes or cut it into several sections to obtain many small cuttings with one node each.
Although it is not mandatory, it is strongly recommended that each cutting has at least one leaf.
This will allow it to carry out photosynthesis immediately and not rely solely on the energy stored in the stem to survive.
The Ideal Number Is 1-2 Leaves Per Cutting, no more. To limit the transpiration of the Pothos and prevent it from dehydrating in the time necessary to produce autonomous roots.
If you have one with several nodes (long), detach the leaves from the lower ones or cut them into several sections.
Once you’ve taken the cuttings, it’s time to root them. This can be done in many ways, but usually, the choice falls between two, in water or on land.
What Does A Pothos Node Look Like?
A node looks like the eyes of a tree or the parts that look like a joint in a stem. To give you the best and simplest explanation of what a node is,
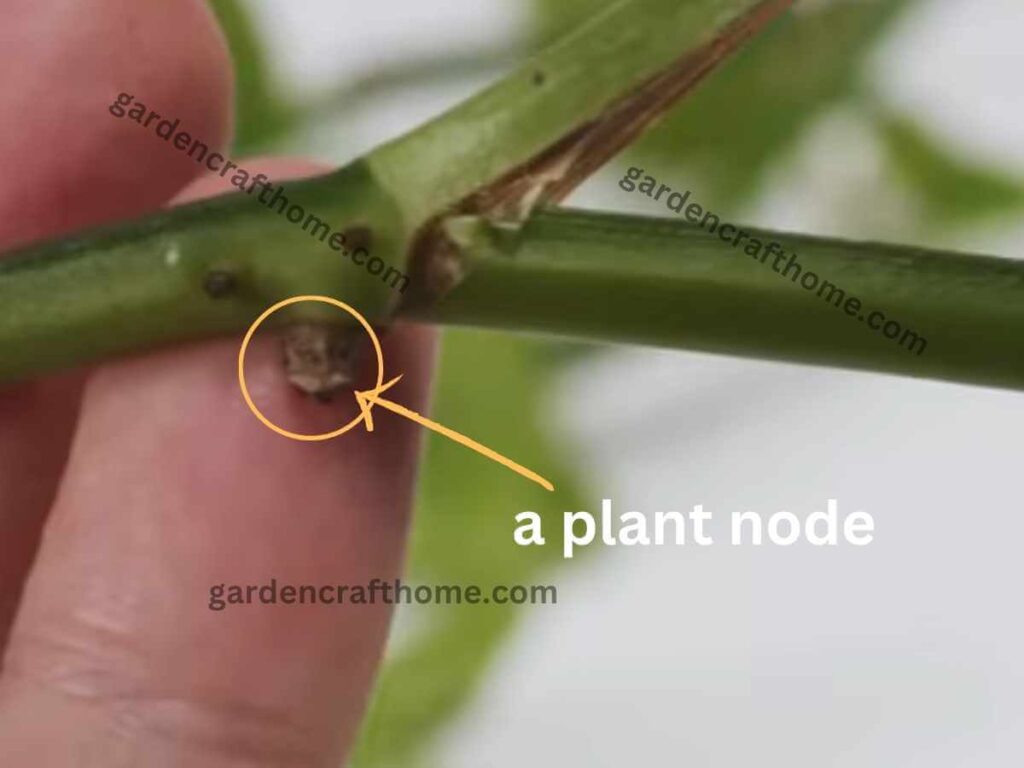
A pothos node is a point on a stem that looks like a small swallowing area that appears as a small bump, eye, or nub. At this point, aerial roots, leaves, and branches grow.
A full-blown example of a tree with many nodes is the pawpaw tree, where a node is where a new sheet begins to grow.
During cultivation by the stem, if the node is absent, these stems will not grow because there is no space for a new shoot.
How To Make A Pothos Cutting In Water
Material And Equipment Needed For Propagating Pothos In Water.
- Healthy mother, Pothos
- Clean scissors or pruning shears
- Clean Water
- Potting Mix
- Pot for Transplanting
Step 1: Prepare Cutting:
Select a healthy vine with at least 4-6 inches; ensure it has at least 3 to 4 nodes and leaves.
Once you have gotten your healthy vine, it is time to use your sterilized knife 🔪 or scissors ✂️ to cut them off.
If you are still confused about a node, I have already explained it in this section.
Step 2: Remove Excess Leaves
Gently trim the bottom leaves from the portion of the shoot you want to immerse and leave the rest because they would end up rotting.
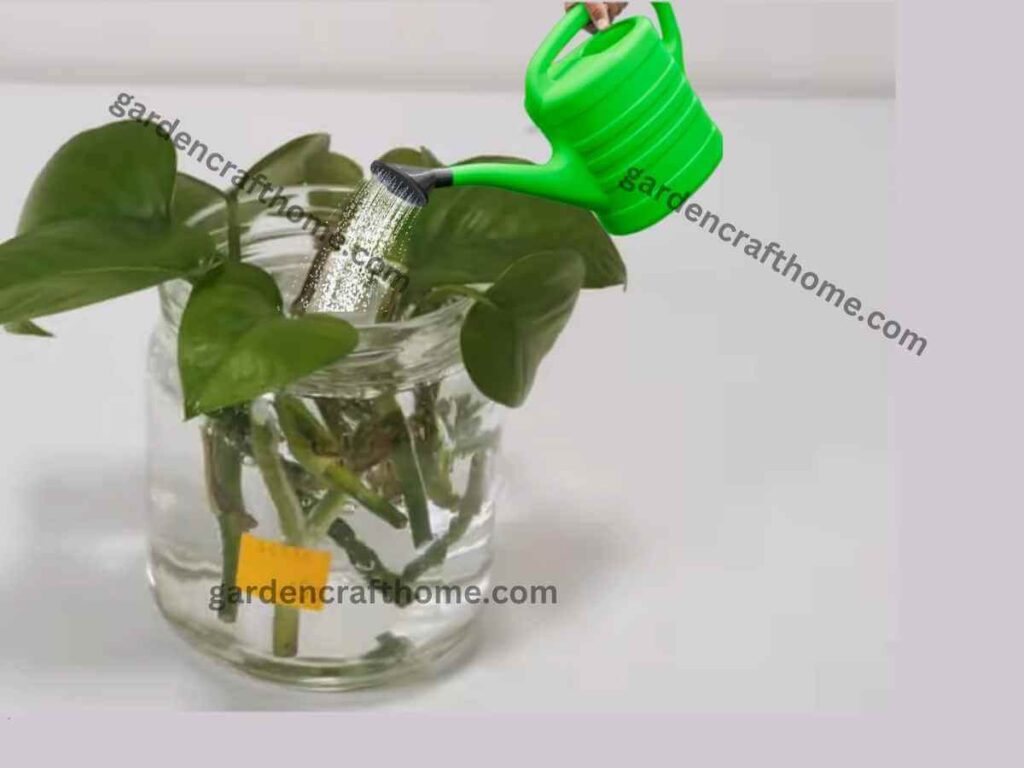
Step 3: Deepen The Cutting In Water.
To root a pothos cutting in water, you must immerse at least one or two nodes inside a glass or bottle full of water, while the leaf must remain outside.
The more nodes you have, the quicker the process because the rooting surface will be greater.
In any case, I don’t see the need to submerge more than 3–4 nodes. You might as well cut them into multiple sections to have more cuttings.
But always ensure you place the container in a location with indirect sunlight.
Step 4: Maintain The Water Regularly.
As the water evaporates, you must top up the water inside the container and replace it approximately every two weeks when it gets clouded.
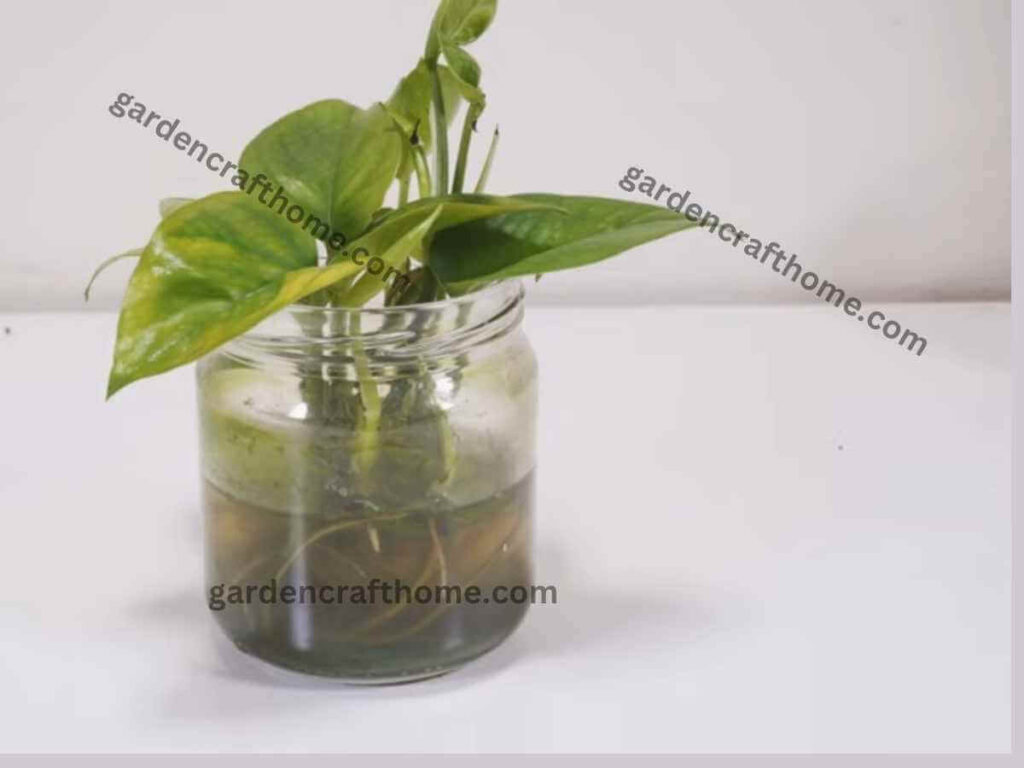
It seems that the roots of the Epipremnum release a natural rooting hormone, which self-promotes its rooting.
Changing the water too often is counterproductive, and you need to do it every two weeks to prevent bacteria from proliferating.
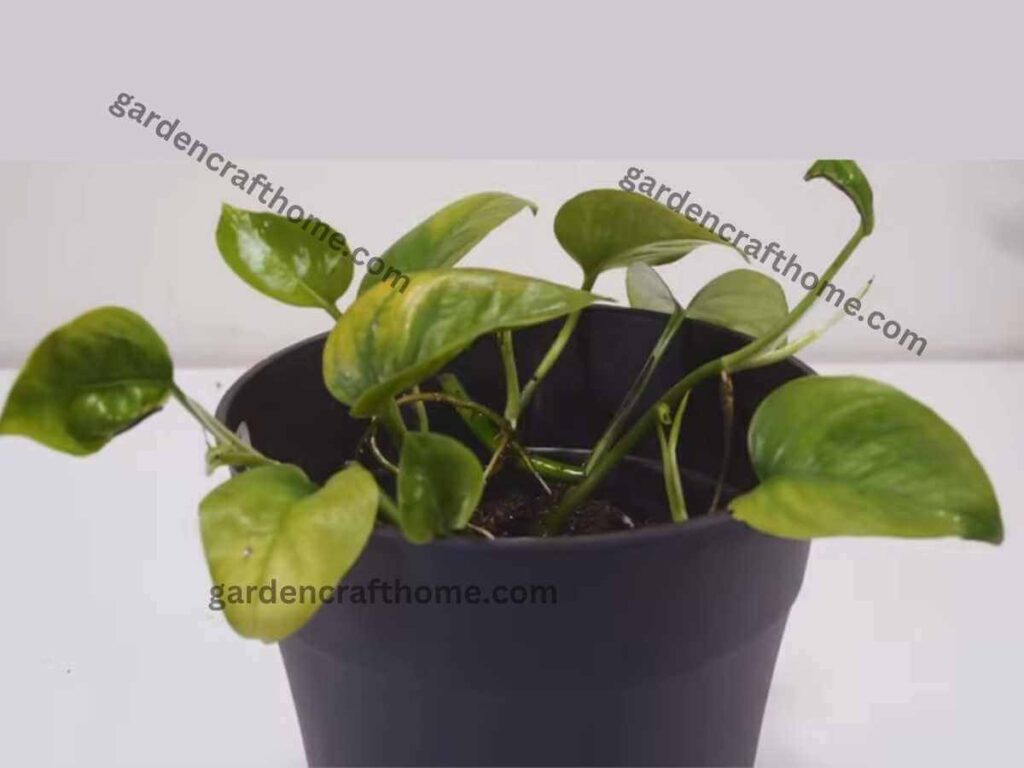
Step 5: Transplant The Cutting
Be patient for the root to develop. Roots typically form within a few weeks and develop in size and length.
Within 2-4 weeks, the Pothos will have developed roots large enough to be repotted in soil.
When these have reached 4-5cm in length, transplant them immediately into a pot with well-draining potting mix and drainage holes.
When transferring pothos cuttings from water to soil, you must Gradually Adapt The Roots To Prevent Them From Drying Out And Dying.
Alternatively, you may transfer it to a bigger container if you want to keep growing it in water.
In this instance, you must begin treating the pothos with hydroponic fertilizer right away to prevent it from developing a nutritional deficit, which would slow down development and result in yellowing leaves.
If you have decided to continue growing it in water and want to know how click here and get the tutorial.
Step 6: Regular Maintenance
Maintaining your plant after it propagates into the soil is very important.
Maintain the minimum brightness. Avoid direct sunlight. Keep the newly planted Pothos in a bright, indirect-light location.
Remember, in direct sunlight, we burn the leaves and make them yellow and suffer deficiency, but I have a full article on why pothos leaves turn yellow.
Click here to find out how to stop your Pothos from turning yellow in the future if you have one. [Link]
To allow air to pass through, the soil must be maintained constantly wet but not waterlogged during the first month after repotting.
After about 20–30 days, let the substrate dry out between one watering and the next without drying out completely.
The Pothos will grow again regularly after its roots have acclimated to the soil, and watering will only be required when the substrate is completely dry.
How To Propagate Pothos Cuttings In Potting Soil
The easiest way to propagate cuttings of Pothos is to bury a stem node in potting soil.
The only precaution is to keep the cutting facing upwards, with the apex and leaf facing upwards.
During the rooting phase, the soil must remain Constantly Moist to promote the creation of roots and prevent them from drying out.
At the same time, it must be avoided if soaked because it would create an anaerobic environment around the roots, in which harmful bacteria would increase and cause them to rot.
Material Needed
- a well-draining potting mix
- Healthy Parent Pothos
- Clean Water
- Pot with drainage holes
- Sterilizes or knife 🔪
- Rooting Hormone [optional]
Step 1: Prepare The Potting Mix.
Fill up your pot with a well-draining potting mix. Make sure the pot has a drainage hole under it. But avoid using large pots.
Once you have filled your pot with soil, use your finger, spoon, or pencil to create a hole in the middle. The hole is useful for the pothos vine.
Step 2: Select A Healthy Parent Plant:
The parent plant must be healthy and have established roots with mature vines.
Use your clean and sterilized scissors to cut a 4-6 inch section of a pothos stem with at least 3 to 4 nodes and leaf 🌿🍀.
You can cut as many as you want to improve the chance of surviving; if any die, you will have a replacement.
Step 3: Remove Excess Leave
Remove the bottom leaves where you want to plant this stem in the soil from each cutting, leaving at least one or two leaves at the top.
You can remove the leaves by cutting or carefully pulling them from the stem.
Step 4: [Optional] Submerge The Cutting In Rooting Hormone.
Gently dip each stem’s cut end into powdered rooting hormone.
Deepen the tip of the vine into the rooting hormone to improve growth.
Step 5: Start Planting.
Insert the cut end of the Pothos cutting into the middle hole provided in the soil earlier, and cover the soil, ensuring the node is covered.
It is also advisable to plant many plants in one large pot, and when they grow together, you can transplant them to a different pot.
It creates the chance of having multiple plants at once, allowing us to survive; if one dies, you replace the others.
Step 6: Water The Plants And Provide Lighting.
It is essential to consistently moist but not waterlogged water after propagation to reduce stress and improve growth.
As a weak pass, maintain a regular watering routine and avoid overwatering.
Also, keep the plant where it receives indirect sunlight; direct sunlight is harmful and will negatively impact its health.
Step 7: Transplanting
Suppose you plant multiple Pothos in a single pot; once roots are well established, typically in a few weeks to a month. In that case, it is time for you to move them into separate pots after a month.
This process also applies to those who use so many small pots for propagation, but if your Pothos can survive on that pot, there is no need to move it.
How To Propagate Pothos In Sphagnum Moss
Materials will need:
- sphagnum moss
- a sharp, clean pair
- a clean container and
- a healthy pothos with at least one node (where leaves and roots emerge).
Step 1: Prepare Moss.
Soak the Sphagnum Moss still; it gets moist because Sphagnum Moss is sold dried, so before use, it is recommended to soak it in water for about 20 to 35 minutes.
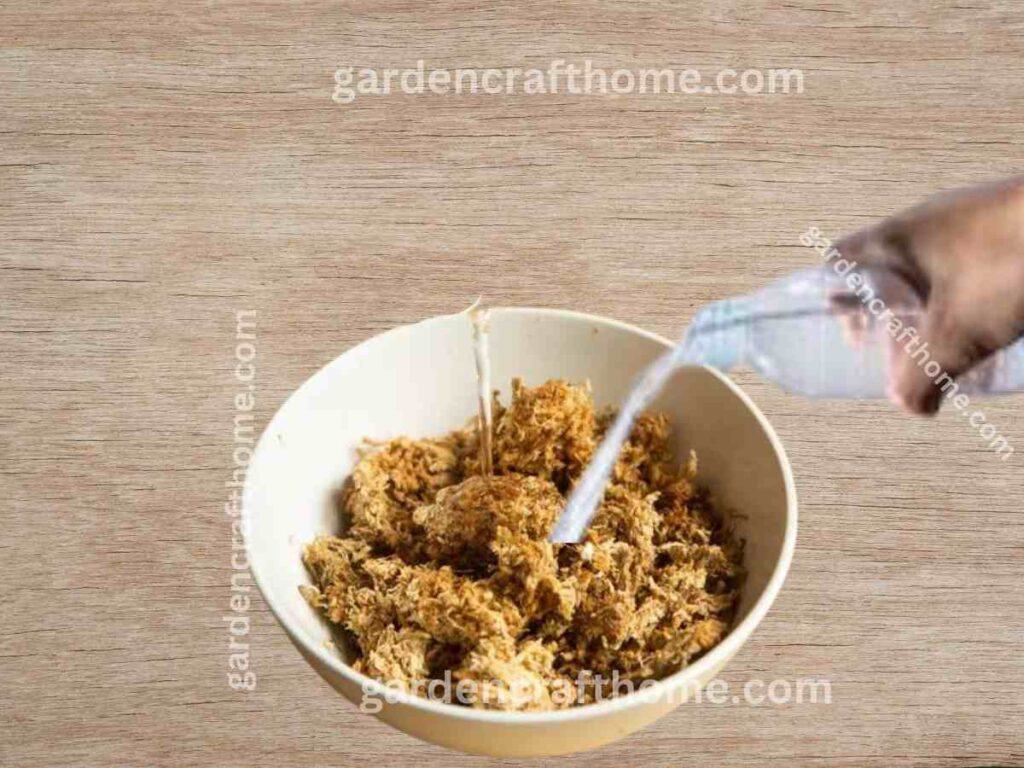
Doing so will let your sphagnum moss get hydrated. Once you soak it, please continue with the other steps I provided in the section.
Step 2: Cutting ✂️ Your Pothos Into Size:
Size as many pothos as you like using neat, sharp pruning knives or scissors. Make sure they have two leaves, probably at the top, and at least two nodes.
The little lumps or eyes along the stem where the aerial roots and leaves grow are called nodes. On the cuttings, this is also the location where new roots will form.
Step 3: Remove Leaves.
Use your scissors to trim any excess leaves at the bottom of the cutting, but leave 1 to 2 of those leaves at the top and don’t remove them.
Step 4: Transfer The Cutting Into The Moss
After soaking the moss, remove it from the water and wring out any excess water. This will make the moss wet but not soaked.
Put the moss into a bowl, vase, or container. Gently insert the cutting into the pothos, ensuring the nodes are completely covered to avoid dryness.
The moss should completely cover the bottom of the stems with the exposed nodes, and the upper leaves should remain above the moss.
To attach the cuttings, make sure the moss contacts their nodes and gently push it down surrounding them.
Step 5: Enclose The Moss In Plastic.
Sometimes, we encourage root development by placing the container in a plastic bag or covering it using plastic wrap to provide a moist atmosphere.
You can also follow that method. I use it in propagating my monstera. To learn more about this method, read my other article on propagating Monstera by clicking here.
But today, I will leave it open and keep it where it will receive enough brightness to avoid direct sunlight.
Step 6: Care For Your Cutting
Keep your plants where they will receive indirect sunlight. Stay out of the direct sun; it might be too strong.
Maintain hydration; inspect the propagation constantly to see if water has dried off; sprinkle water if there is any dryness; Mist the moss or add water as needed.
If you do so within a few weeks, the roots will shoot out. Be patient and wait for the roots.
Once its root has reached an inch, you can transfer it into the soil, which I will explain better.
As most people ask, how do I know when the root has developed? The quick answer is to gently pull this stem out of the moss and inspect for root development.
Step 7: Transplant Your Cutting
Once the roots are established up to two inches or one, transplant the pothos cutting into a pot with fresh and well-draining soil.
Use a pot with drainage holes that allow water to pass through it when watered; avoid heavy soil; and do not over-fertilize. Give constant water if needed.
What Is The Best Way To Propagate Pothos?
Different ways of propagating pothos might depend on personal preference, condition, and equipment. Everyone has their satisfaction, but
Planting Directly In The Soil is straightforward and reliable, which helps us avoid shock during transplanting.
The Cons Of Soil Propagation are that it is not visible to see the root development, and it can be tempting to overwater.
Water Propagation is a clean process; it does not require messing yourself up, and it is a visual learning platform for both adults and children to see the roots developing daily.
Cons: Propagating in water transplanting shock also takes time for the plants to adjust to the soil, which is the new environment.
Water propagation also requires regular water changes if it gets clouded.
Sphagnum Moss Propagation retains wetness to the stem, which is also favorable for creating a hummus environment, and it can be easily transplanted into the soil without any issue.
Its Cons Are That It Requires careful monitoring to avoid excessive moisture.
As I said earlier, choosing water, soil, or sphagnum moss depends on your abilities. Still, The Most Reliable Is Soil, Followed By Water Propagation.
I think multiplication in water is the most satisfying because it allows us to observe the roots growing slowly.
Propagating in water helps me know when things are going wrong with my plant and to immediately replace it.
With a little sensitivity, it will be easy to make them adapt to the soil later. You can also conduct different propagation experiments to see which method works best for you.
Remember, patience is key during the propagation process.
How Long Does It Take Pothos To Grow Roots In Water?
Pothos take about 10 days to 3 weeks to develop roots in water.
The key factor is to exercise patience and monitor your roots to see if there are any developments. Always maintain the water and place them in the Brighton location.
But sometimes, it might grow faster or take longer, depending on factors like environmental conditions, light levels, and the health of the cutting.
It’s time to place the roots in the ground after they reach a height of one inch.
Will My Pothos Grow Back After Cutting Them?
Yes, the initial plant will continue to grow. Certain plants, like pothos (Epipremnum aureum), possess the ability to withstand pruning and typically regenerate from the roots.
If you maintain proper care for your pothos, it will thrive and continue to grow even post-trimming.
The cuttings you acquire will develop roots and evolve into independent plants. The main plant often generates fresh shoots from the area where it was pruned.
When you trim your pothos for size or shape management, it typically generates new growth from the nodes along the stem where it was trimmed.
Trimming or propagating pothos encourages new growth while also not causing harm to the new pothos plant.
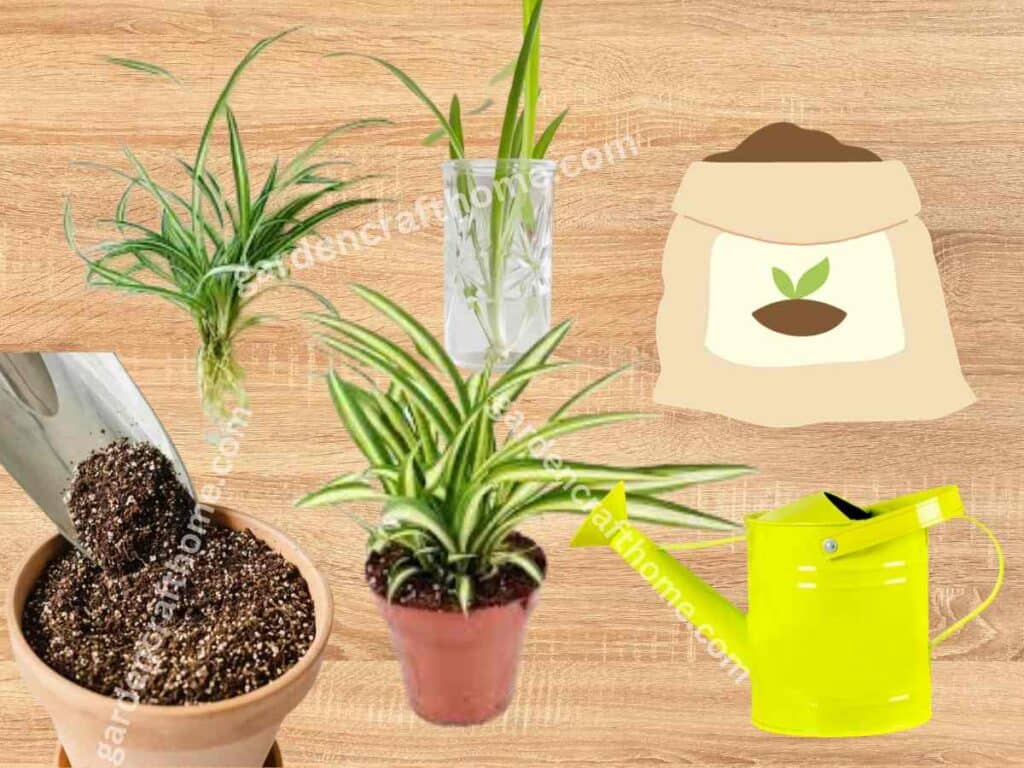
Also read How To Propagate Spider Plant Read now
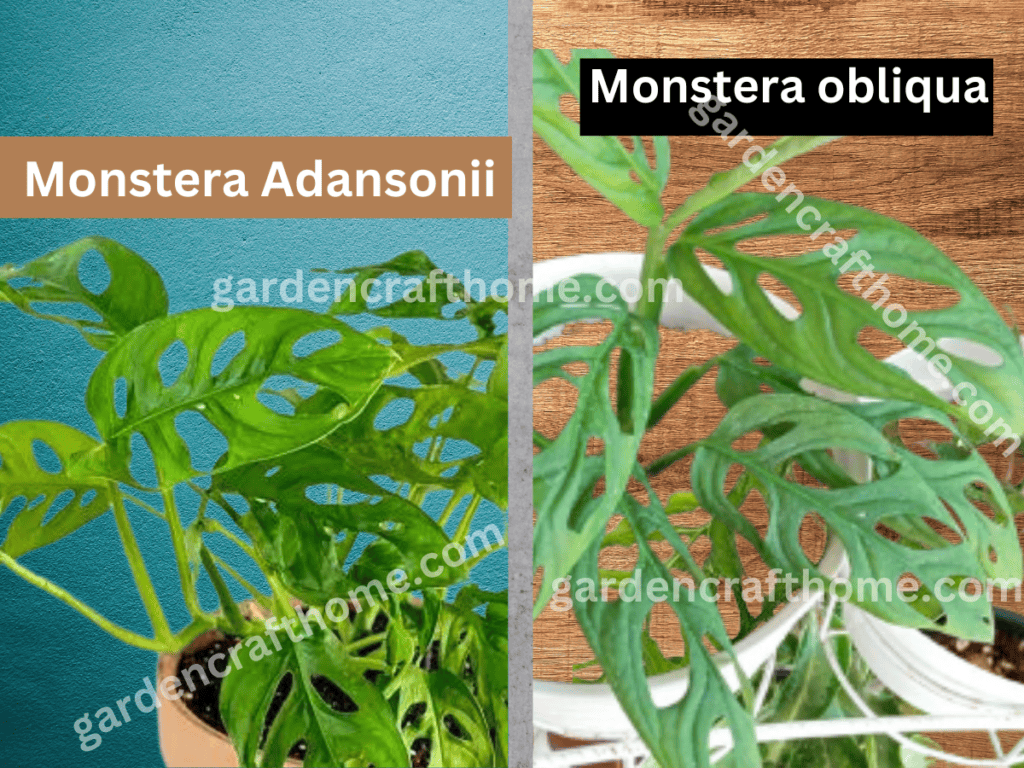
Also read about Monstera Adansonii Care Read now
Also read How To Make A Vertical Succulent Garden With A Frame Read now
Also read How To Make A Homemade Planter Read now