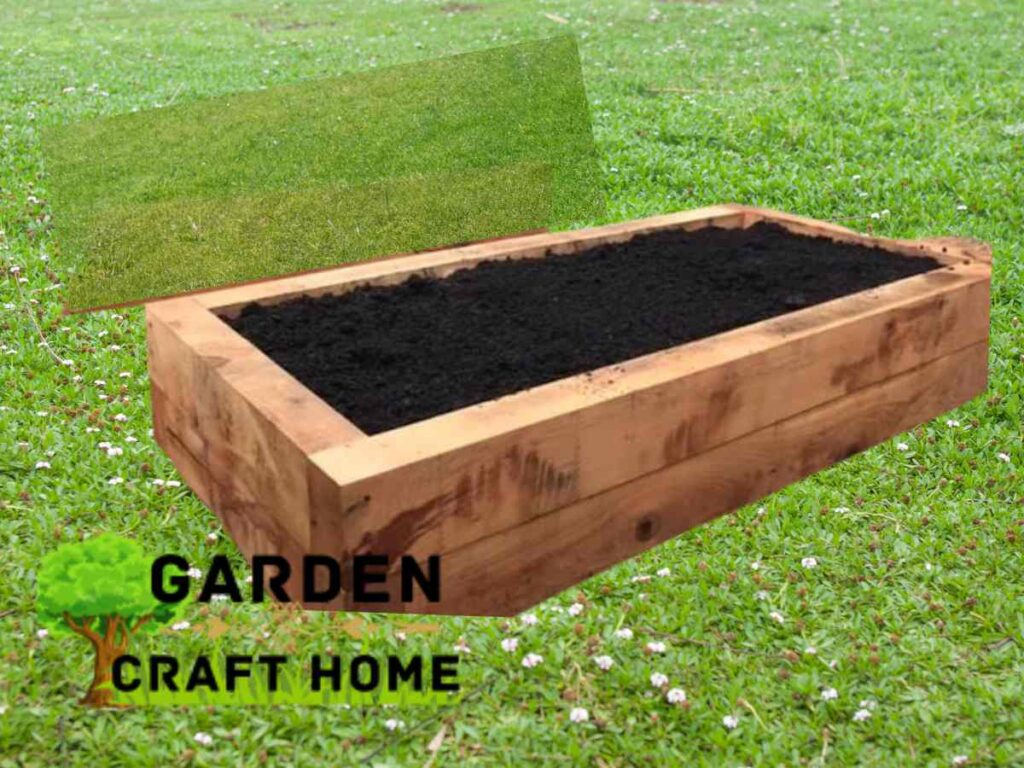
Do you want a small planter box at home? Learning how to make a small wooden planter box is ideal for you since you need a small planter box.
It is a guaranteed DIY. You can make an outdoor or indoor planter with wood and a nice varnish that can withstand water and sunlight.
You will learn my exact measurement in making this, including the tools and materials needed.
Now let us learn how to do this project. Without further ado, let’s jump into the real deal of today’s lesson.
In the past lesson, I made a vertical wooden planter with pallets. Learn how to make yours now by clicking the link Learn How To Make A Vertical Planter
Learn How To Prepare Planters For Planting
Tools And materials needed For Making A Small Wooden Planter
I have provided the tools needed for this assignment. It is a very easy-to-use tool.
When it comes to choosing, you can use the available tools you have because this is a simple project. You don’t need expensive tools.
Also, read the tools and materials needed for pottery.
Tools
- Masking tape
- Squad
- Measurement tape
- Pencil
- Hammer
- Palette
- Keyhole saw, or jig saw
- Drill
Materials
- Decorative varnish
- Nails
- White glue
- Wood ribbons
- Wooden tubes
Also, read how to decorate a plastic Pot.
How To Make A Small Wooden Planter Box Step By Step
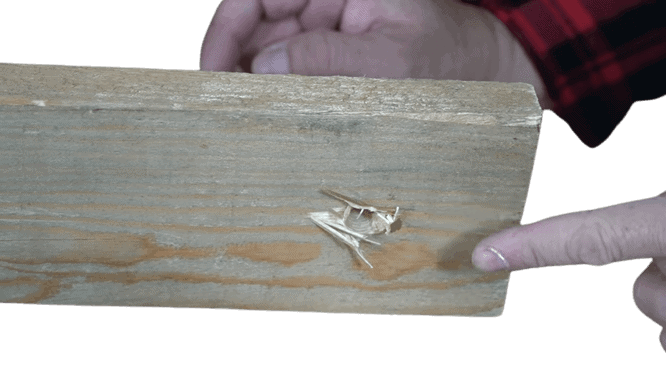
1. Cut The Wood
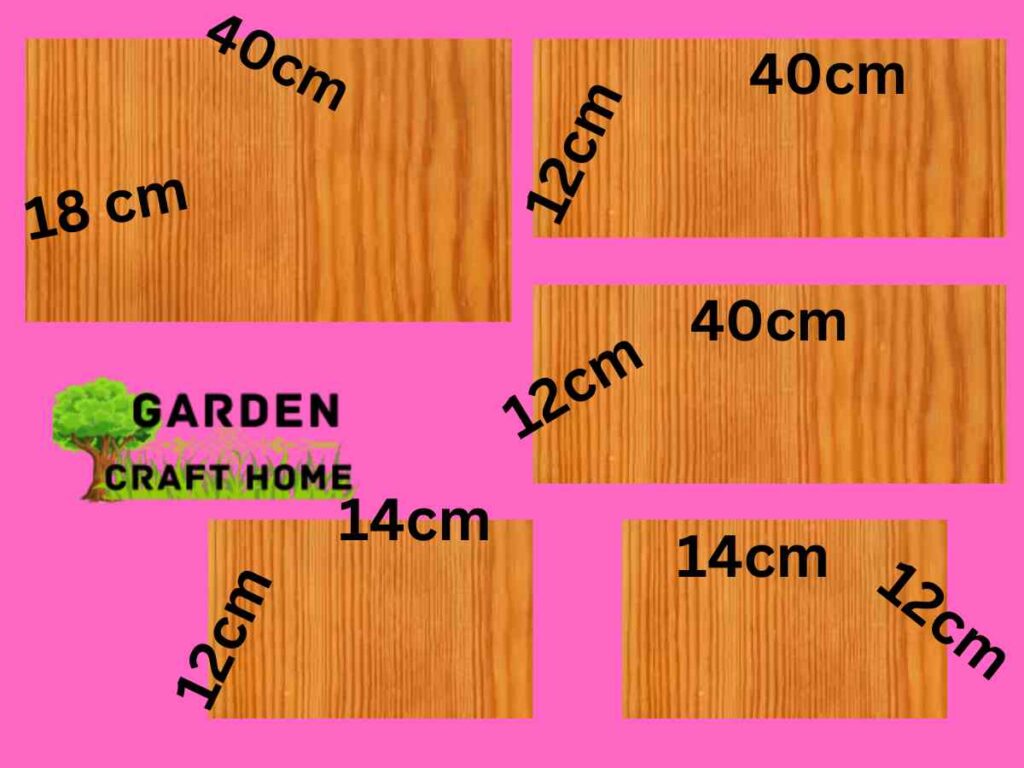
To get started, find a tape measure and a pencil. Use tape to measure and mark the pieces that will form your planter on the wood.
There are five in total: a rectangular base (40×18 cm, in our case), two long sides (40 x 12 cm), and two short sides (14 x 12 cm). Cut with the help of a jigsaw.
Also, read how to make a vertical succulent garden with a frame.
2. Assembly The Small Wooden Planter Box
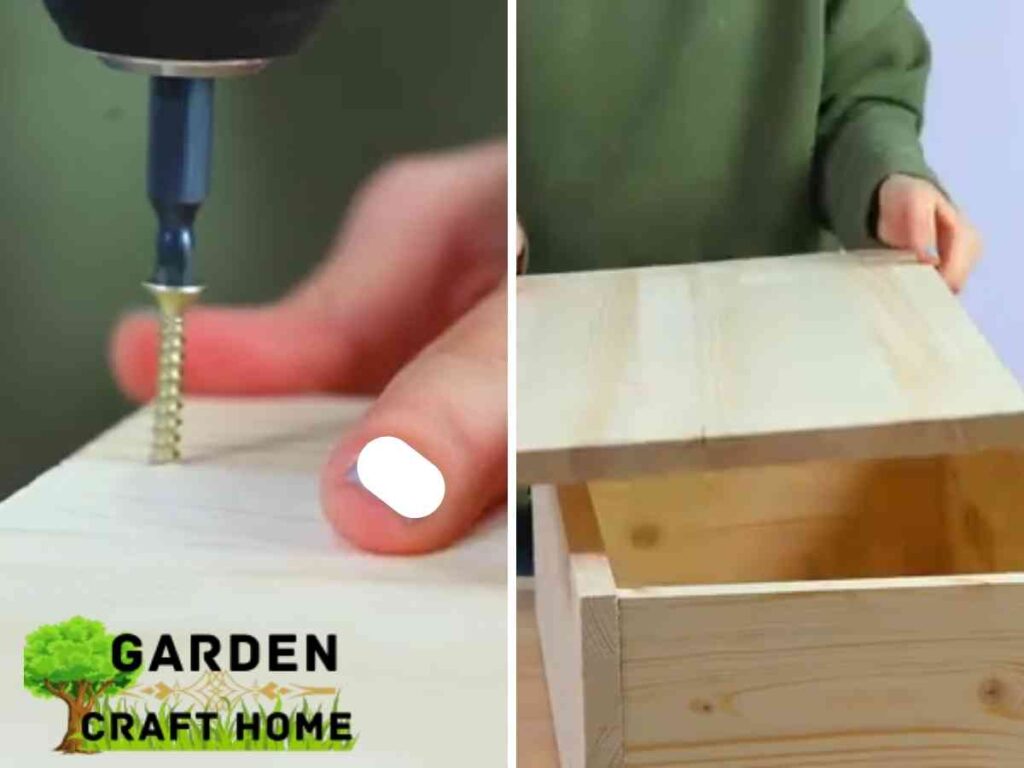
Once you have all the pieces cut, assemble the structure of the planter. Start by fixing the sides together with wooden dowels, or screws forming the outline. But I prefer to use a wooden dowel.
Option one: For the screwing method screw the boxes together to form a rectangle shape and then screw the base for final construction. The method is very easy. The picture is provided below.
Second option: To do so, drill holes at the ends of the long sides and the edges of the short sides so that they fit together.
These holes should have a depth equivalent to half the length of the tube: thus, when you join the wood, the tube will be inside the pieces.
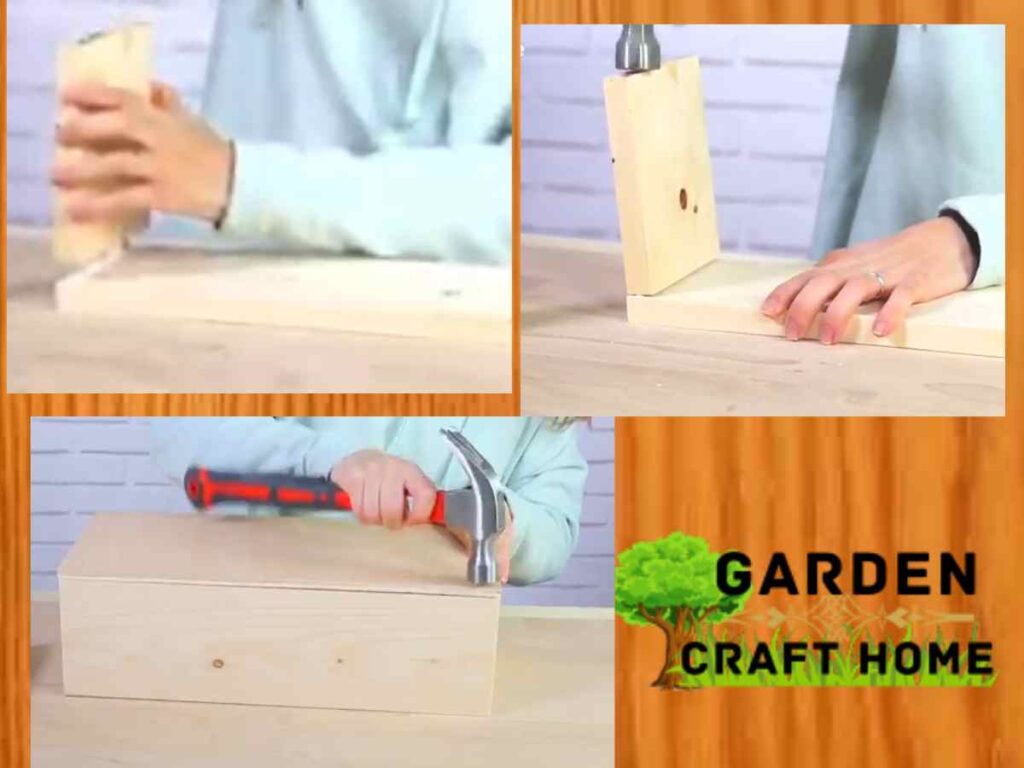
Before inserting the tubes and fitting the pieces together, which you should do with a hammer, apply a bit of white glue, which will help make the joint more resistant.
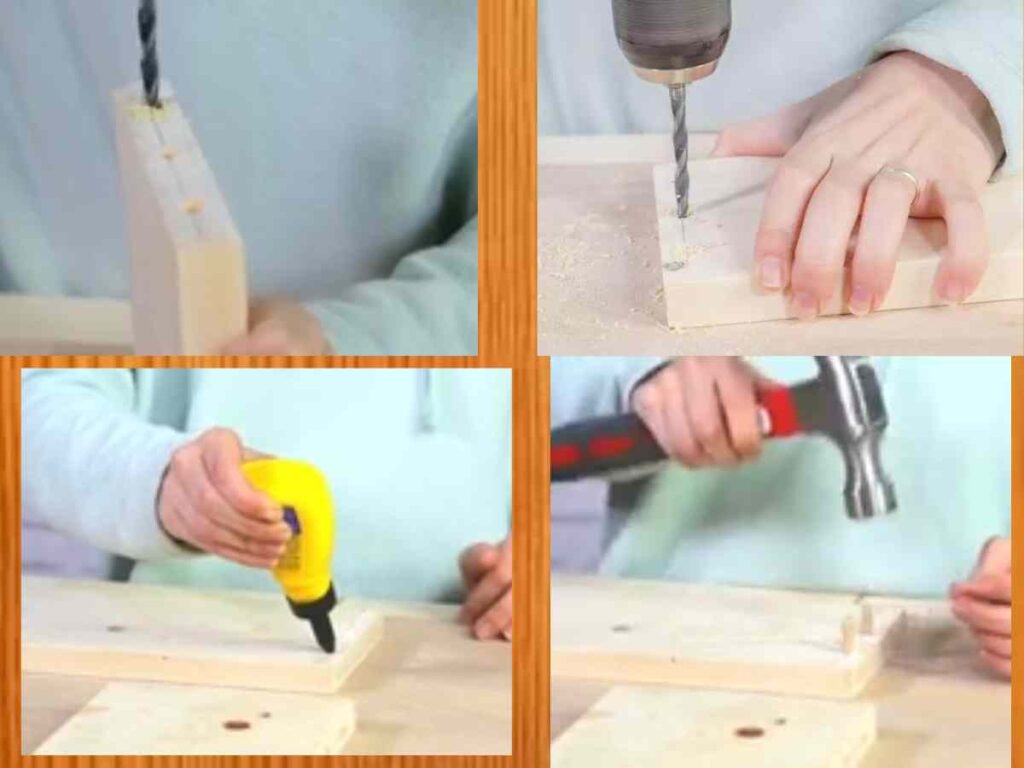
When you have it, join the planter base using nails and a hammer.
Read the things to look at when choosing or buying a planter.
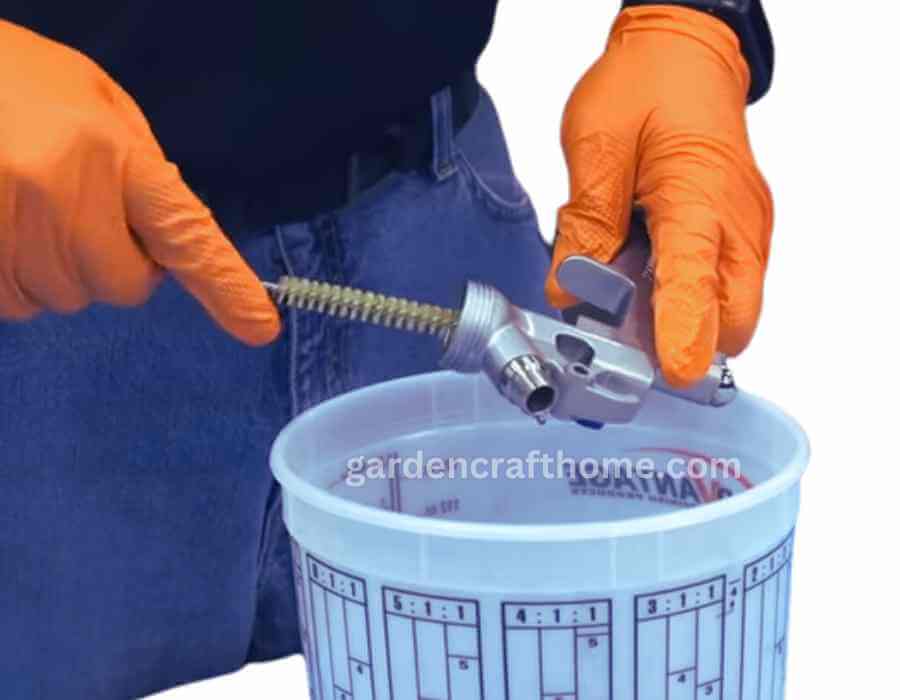
3. Varnish The Planter
After Assembling the structure, you have to decorate your finished work.
The choice of product is important if you want to put the planter on the terrace so that it resists humidity and the sun’s rays well.
Apply a product designed for this. Also, learn how to make a wooden terrace planter.
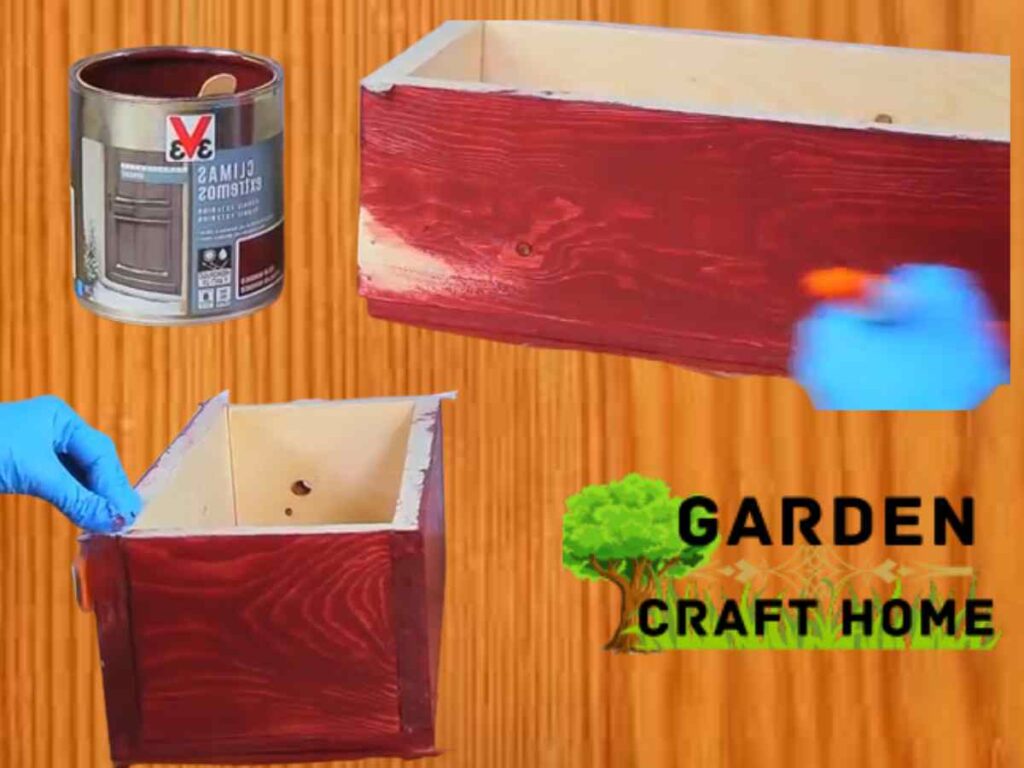
We have used the V33 extreme weather exterior varnish to decorate and protect the wood.
It is water-repellent and resistant to UV radiation, maintaining its color.
Also, learn how to make a garden with a wooden planter.
4. Apply The Varnish And Let The Planter Dry.
To decorate our planter, we have combined two varnish colors: Nordic red for the exterior and beige for the interior.
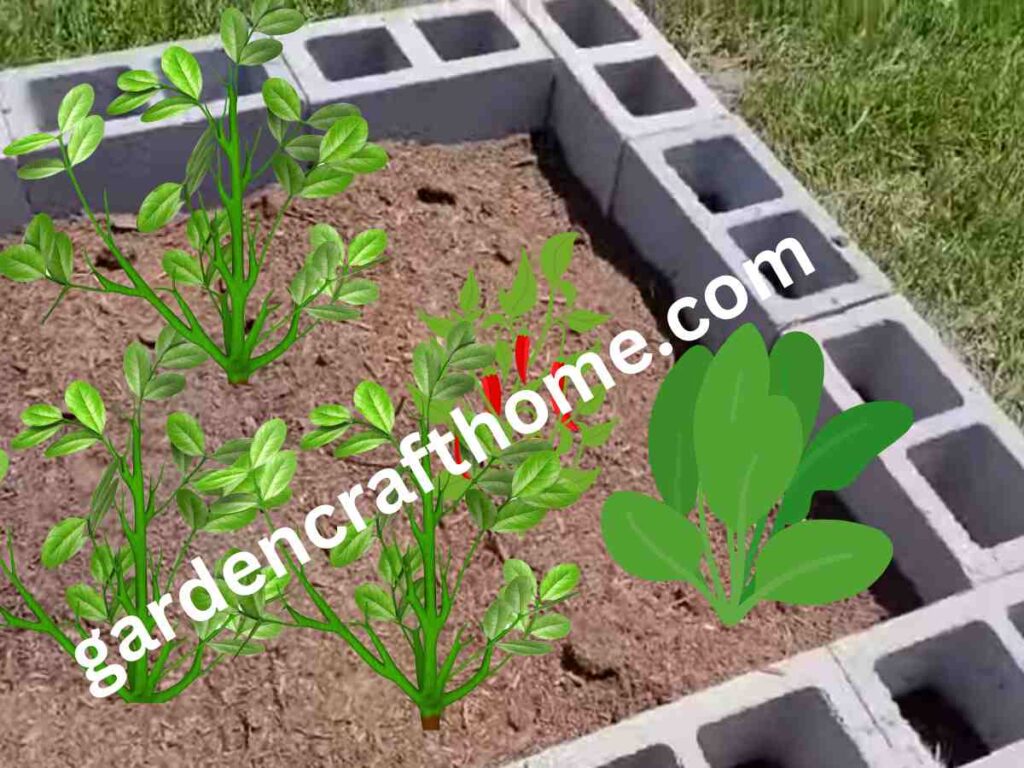
Once the planter is dry, all that remains is to put your favorite pots inside and take them out to the terrace.
What do you think of the result? Is it clear to you how to make a wooden planter? Also, read how to make a hanging wooden planter with ropes.
Also, learn how to make outdoor planters with bricks.
Conclusion
Now you know how to make your small wooden planter; decorating them is important to using varnish For protection and beauty.
Remember, the size I use may not be okay for you because of the space you have at home so you can change the size of the project.
Also, read how to make and install a vertical wall planter.
learn What Is Type Of Planter
Thanks for reading. Always visit gardencrafthome.com, and below are all related articles.