Have you been asking How To Make A Garden In A Wooden Planter so you won’t spend much effort?
Surely at some time, you have heard that running a garden requires a lot of dedication and physical effort.
You will not need to stress yourself with this system I have provided. Therefore you will save a lot of physical effort.
Also, read; the types of planters.
In addition, maintenance tasks are more straightforward thanks to this system because you will not have to invest so much time.
Traditionally gardeners grow their plants in rows known as “ridges” or sometimes planted across the space as if it were a field.
The traditional system involves investing a lot of physical effort because you have to till the land at least twice yearly.
And in the maintenance, chop the earth so that “weeds” do not come out.
But currently, there are other ways to grow your vegetables that are simpler and also kinder to nature.
More and more people are betting on terraces or planters for their multiple benefits, popularly known as the no-till method.
Also, learn how to build a wooden planter.
What Will I Learn In This Post
learn How To Make A Garden In A Wooden Planter. I will guide you through the complete process of building, cultivating your vegetable, and maintenance of the wooden planter garden.
There are many things to learn, which I have mentioned below. This process involves mental activities that help you develop your brain and make you wise.
The process here is not complex; it is easy for every gardener who wants to make their garden with a wooden planter.
Now this is what you will get from this article:
- How to build a wooden planter, step by step.
- What materials will you need to make a planter?
- A system that will allow you to cultivate your vegetables with less effort.
- The first step is to start planting.
Also read: how to make a small wooden planter.
Advantages And Disadvantages Of Making A Garden In A Wooden Planter
I’m not going to lie to you, in the garden, as in almost everything, there is nothing perfect.
For this reason, in this chapter, I will tell you about the benefits of planters (which are many) and the drawbacks you may encounter.
ADVANTAGES Of Making A Garden In A Wooden Planter
Planters are a perfect option for a family garden, especially if there are small children.
Because it is much more comfortable for them to work in planters, and they quickly know where they cannot stop because the space is limited.
They are very decorative and give the garden a more landscaped air.
Another advantage that planters have is that since the earth is retained within a frame, it will prevent it from leaving.
In slight unevenness in the terrain, it may be interesting to put planters.
Learn how to make a hanging planter:
DISADVANTAGES Of Making A Garden In A Wooden Planter
The main drawback is its price; since more materials are needed, it will cost more than making a simple bed.
You will need more tools and sometimes time to build them. It requires some skill to create the planter.
Materials To Build A Garden In A Wooden Planter
Today we will talk about how to build planters with wood because it is the most accessible material.
It is a reasonably cheap material (or sometimes free if they are reused), and it is easy to assemble and, therefore, quick to build.
The negative part of this material is that after about 7-10 years, you may have to change the woods depending on the atmospheric condition of your country.
Below is the list of materials needed to make a wooden garden planter:
- Measuring tape
- A peg (it can be metal or wood)
- String line
- Large cardboard
- Screws
- Wood
- Drill
- Saw
- Rake
- Shovel
Factors About The Wood To Use
1. What Is The Type Of Wood; wood can be of any type, and always look for wood that can’t easily observe water and has a long-lasting duration.
I use pine because it is the cheapest and easiest to find.
2. What Is The Treatment Of The Wood; The woods are essential because they are treated to withstand the outside.
If you buy them virgin, you can treat them with linseed oil. It’s as simple as painting all the faces.
Also, read; the introduction to the bonsai tree.
3. What Is The Wood Measurements: The minimum width of the wood must be 2 inches and the height of 10 inches. But if you prefer a thicker wood or a taller planter, it will also be perfect.
How To Make A Garden In A Wooden Planter Step By Step
In this stage, we are going to learn the steps involved on how to make a wooden garden planter.
Follow me through this process so you won’t miss out on his step.
Note: you can use different measurements of wood depending on the space available in your garden.
You can also use different methods, provided it is easy for you, and we will get the same results.
Preparation Of The Land
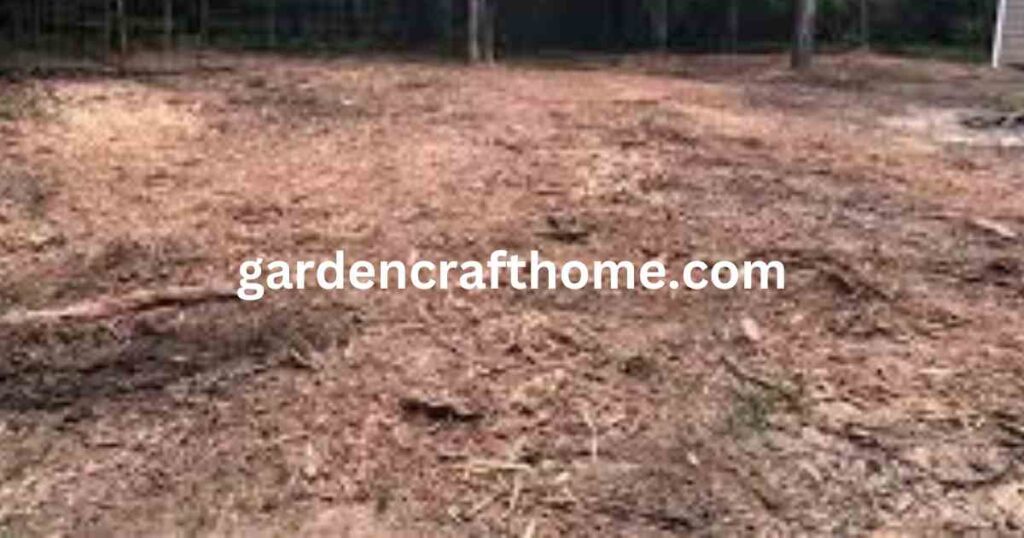
Traditionally, the grass is uprooted to prepare the land, and the land is tilled (turned over). Physical effort and time are required.
But today, I will show you how to start from scratch with the no-till system, and thanks to this system because it will save you all that heavy lifting.
The first step to building the planters will be to cut the grass. If there is any, you can hire a brushcutter, lawn mower, or by hand with scissors.
If there is a bushy plant such as blackberry, it is always better to uproot it.
These plants reproduce by the roots and are also very warlike, so it will be convenient to start as much as possible of this plant to prevent it from coming out again.
Also read: How to prepare star apple recipes.
Taking Measurements Of The Wooden Planter
Once the space is prepared, we will mark the planter on the ground to see how it looks. You can help yourself with rods or pegs and a string to mark the perimeter of the planter flower below.
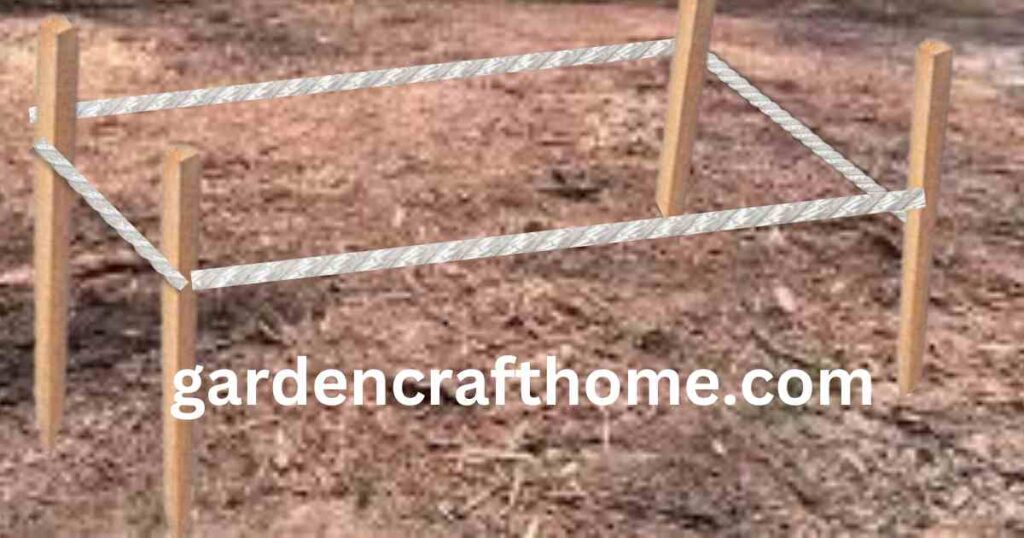
In this way, if the shape does not convince you, you have time to rectify it. It is good to avoid moving everything in the future, Being a permanent construction.
The width of the planter should be between 80 – 100 cm [ 31 – 39 inches respectively ]; you have to make sure that it is comfortable for you to work in it.
And therefore, you have to reach halfway with your arms outstretched without a problem.
The length can be whatever you want, but make it comfortable to walk around the planters. I do not recommend that they be longer than 6 meters/600cm [236 inches] but I decided to make my own 243.84 cm ( 96 inches )
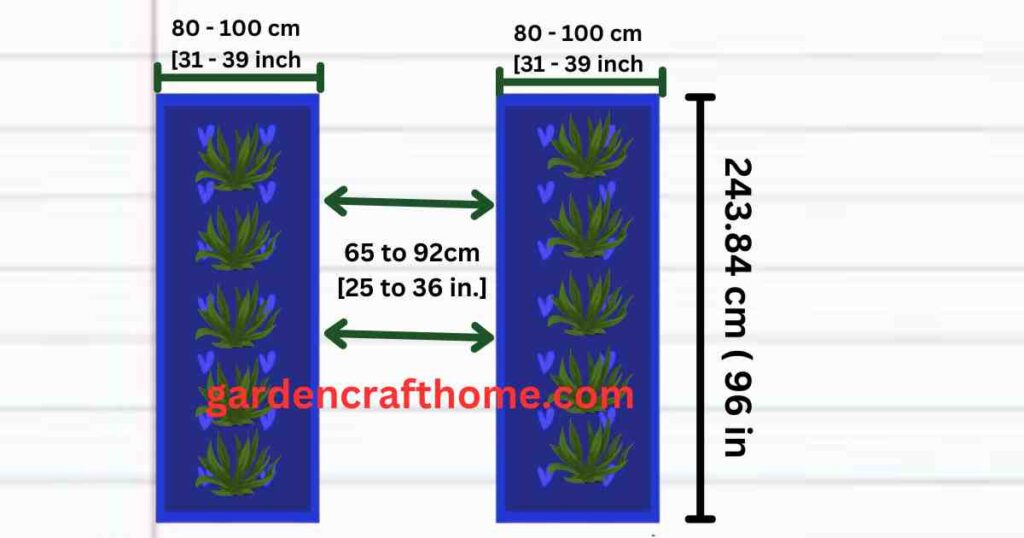
In the case of making more than one planter, it is also essential to consider the corridors’ measurements Between 65 to 92cm [25 to 36 inches.]
It is an excellent measure to take advantage of the space and, at the same time, circulate between planters comfortably.
With the space marked, you can try walking around the planters to see if it seems comfortable.
If you have a wheelbarrow, you can also try to go with it to see if the paths are wide enough.
Also, read how to build a planter with Bricks.
How To Build The Wooden Planter
After marking the space, we will cover the ground surface with cardboard, the first material to cover the ground.
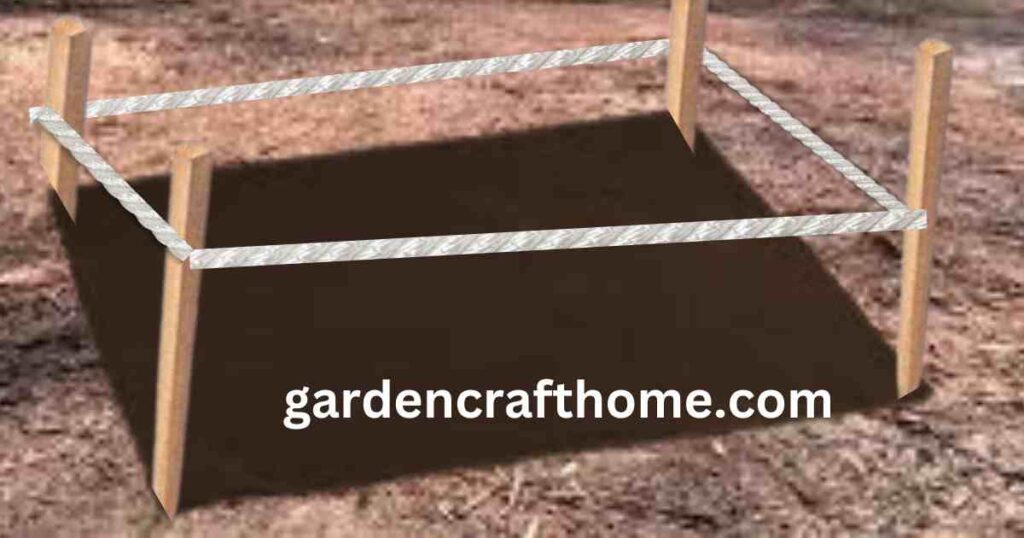
These cardboards have the function of drowning the grass because not a drop of light will touch them; thanks to this, we will quickly eliminate them from the roots.
Because if the grasses cannot absorb the sun’s energy, they will not be able to ge photosynthesize. And that will cause them to weaken and eventually die.
The cardboard mustn’t have adhesives or shiny coatings because they are non-biodegradable materials and contaminate the soil.
Another essential aspect to consider is that the cardboard should be thick. If you do not get thick cardboard, you can put a double layer, one on the other.
If you need to cover a larger space and the cardboard falls short, it is essential to overlap the cardboard so there are no small holes. So indeed, no light will enter.
How To Assemble The Wooden Planter
And now, we can start to assemble the planters. I make a wooden one in this case, but they can be clay bricks or stones, for example.
Also, read; how to make a cinder block planter.
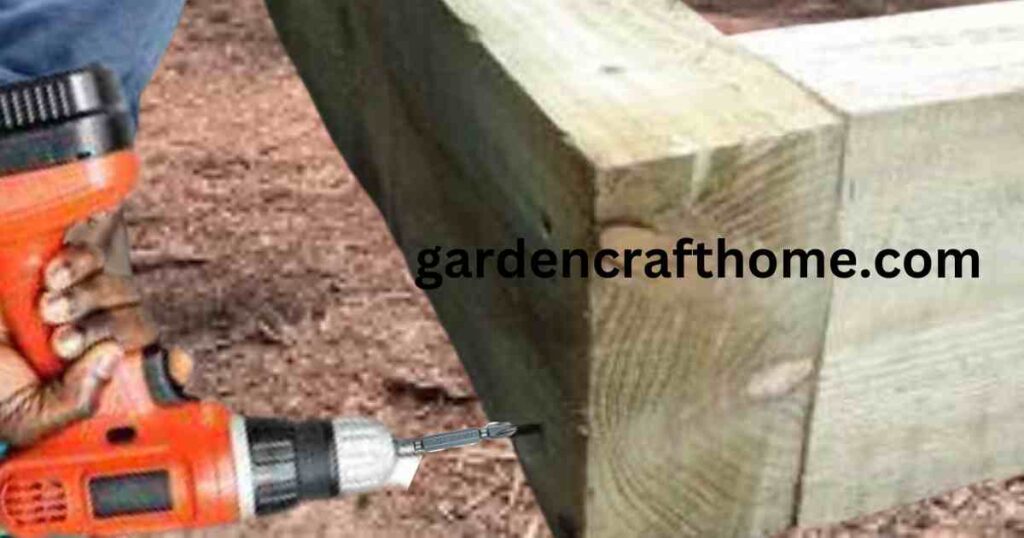
To assemble the wood, only two screws for each corner.
1 – Before driving in the screws, make some holes in the wood (only one of them, the one that the screw goes through first), so make sure the wood will not break when trying to drive the screw.
2 – With the help of a drill, make the holes. The drill bit must be the same width as the screw.
3 – Once the holes are made, join the corners with two screws that go through them like a photo frame.
Putting The Compost Bed
Having the planter assembled, all that remains is to put the compost bed. The Compost Bed is a layer about 10 inches high of mature compost.
This step is critical for everything to go smoothly, so don’t skimp on adding material.
I know that sometimes it may seem excessive to put so much compost, but it will only be once for the construction of the planter.
Used compost and not another type of material (for example, worm castings or manure) because this material is rich in organic matter (a key element to restoring the soil).
And you also should not suffer if the plants are damaged by excessive fertilizer. Mature compost does not burn plants.
Therefore, directly place the compost bed on top of the cardboard.
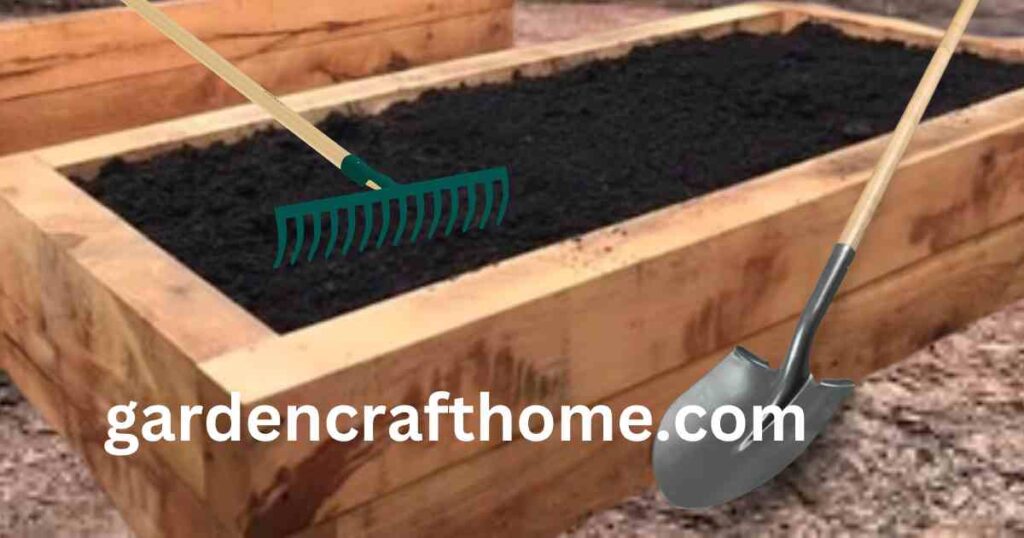
The compost is spread very well with the help of a rake and removing excess air.
You can climb on top to go faster or crush it with a shovel. Don’t worry; it won’t cake because you step on it once; the compost quickly recovers its shape. It’s like a sponge.
Once the compost is placed, water them very well so that it has good humidity. And the gardener would be ready to plant and sow.
Do not wait for any margin time or anything. As you can see, it is very fast.
For tall planters, in making a planter of more than 15 to 30 feet, you can fill it with soil and then 7 inches of compost. Another attractive option, especially if you have the material nearby, is filling the planter with the lasagna method we have seen previously.
Also, read the types of the planter.
How To Plant Vegetables In The Wooden Planter
Before planting, I like to place where the plants will go so that they are well-aligned.
The distance between lettuces and leeks is the same, one span. But some vegetables need more or less distance, which you should never forget when doing the design.
The hole is made To plant, and then I press a little with two fingers so that the plant is well-established in its place.
Don’t worry if you see the cardboard when you make the hole. Remember that it will disappear after 6 months, and the plants, if needed, can go through it.
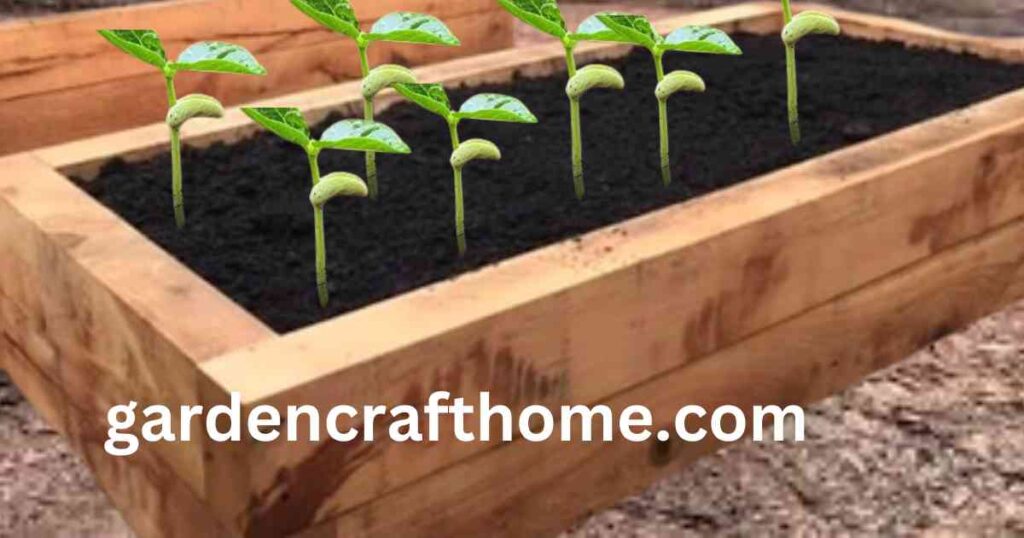
You could also do it directly in the compost if you want to show it.
With this system, you can plant any garden vegetable, but it is true that if you need to dig a deeper hole, for example, to plant a tree, it will not be the best option.
Even though there is this barrier between soil and compost in the first months, with this technique, we work with all the soil; the compost mattress is like an aid that we give to the earth to improve its condition.
The earth’s worms and different living beings will integrate the two layers throughout the months.
How To Pad For Planters
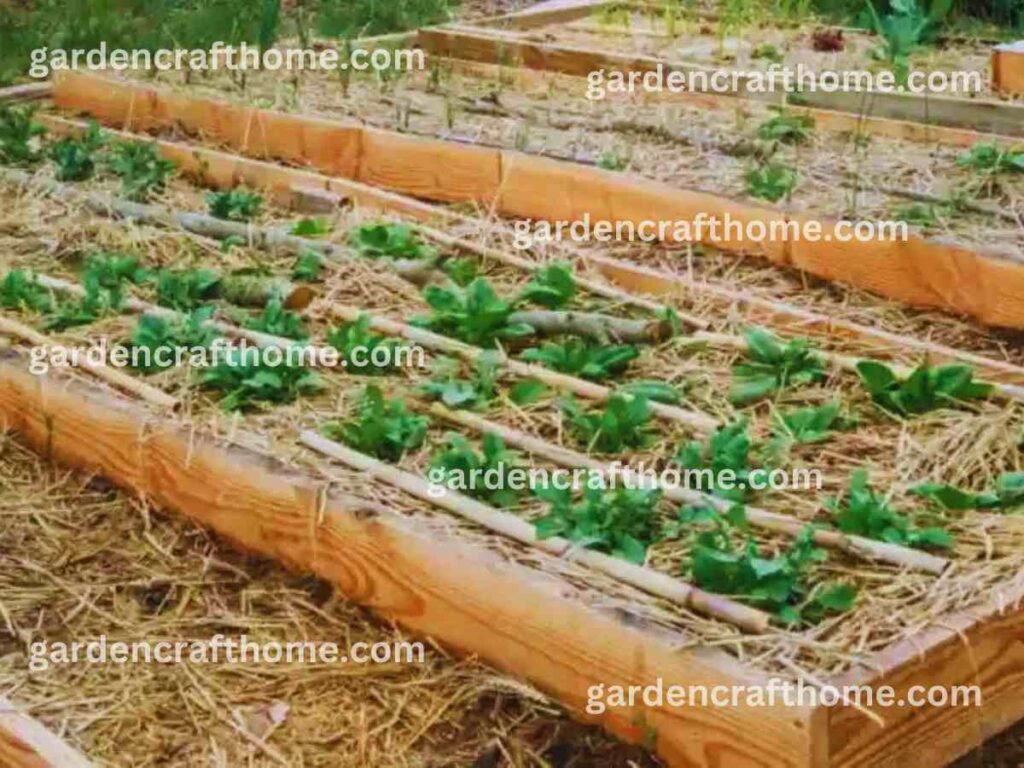
Once planted, I always put mulch (straw, dry leaves) on the bed so the compost does not lose moisture.
Being in a warm climate like the Mediterranean, this step is critical since the compost quickly loses moisture if it is very sunny.
1. a good 5 to 10 inches layer is essential to quilt. The hotter it is in your climate, the thicker the padding should be.
2. The plants will be buried but stretch upwards after a few days.
Finally, I put some weights on the padding so the straw does not fly.
These weights can be removed after three weeks because the padding is stuck. And therefore, there is no longer any danger of it flying.
Frequent answer questions about Planting In The Wooden Planter
Since I have finished explaining how to do a garden in a wooden planter, I notice that they are filled out on your mind.
Here I am to clarify the vegetable cultivation in the planter we built. I will answer the frequently asked questions.
1. Should I plant the vegetable directly in the compost? Precisely in this system, the vegetables are planted directly in the compost.
The positive thing is that you will not have to spend on fertilizer because the compost is already a fertilizer.
2. Will the plants be able to develop roots? Yes, the cardboard does not cover the vegetables you will plant.
Therefore, the vegetable will be able to absorb the sun’s energy and will have enough strength to go through the cardboard when they need more space.
3. What happens to the cardboard? Being a biodegradable material, after 6 months, it disappears completely.
Therefore, that barrier that existed between compost and soil ceases to exist.
Summary
What Is The No-Till System?
With this method of growing, you can produce your vegetables, investing less physical effort and time.
Thanks to the fact that you work in favor of natural rhythms and save yourself from turning the earth over.
How To Build A Wooden Planter?
, the measurements are previously marked with a string and rods To build a wooden planter.
Then, the cardboard is put to drown the grass, and the wooden frame is built on the cardboard. Finally, it is filled with a 10 cm mattress of mature compost and watered deeply.
What To Plant In The Garden?
With the help of a sowing and planting calendar, see which vegetables are in season and choose the ones you like best.
Then plant them in the planter, respecting the planting frame (distance between vegetables).
Should I Mulch The Garden Or Not
If you live in a warm or Mediterranean climate, you must mulch so you don’t lose moisture and avoid watering as often.
Also, learn how to build an outdoor planter with bricks.

