I am happy to teach you how to decorate a plastic pot. If I may ask, how many plastic flower pots do you have at home? maybe many.
Plastic planters or pots are cheap and practical but not original, so it is time to twist them.
We suggest you give a radical change to a plastic planter that you have with a little paint, hot glue, and four knobs. Watch out step by step!
Also, learn how to make a hanging planter.
Learn how to make a block planter. [link]
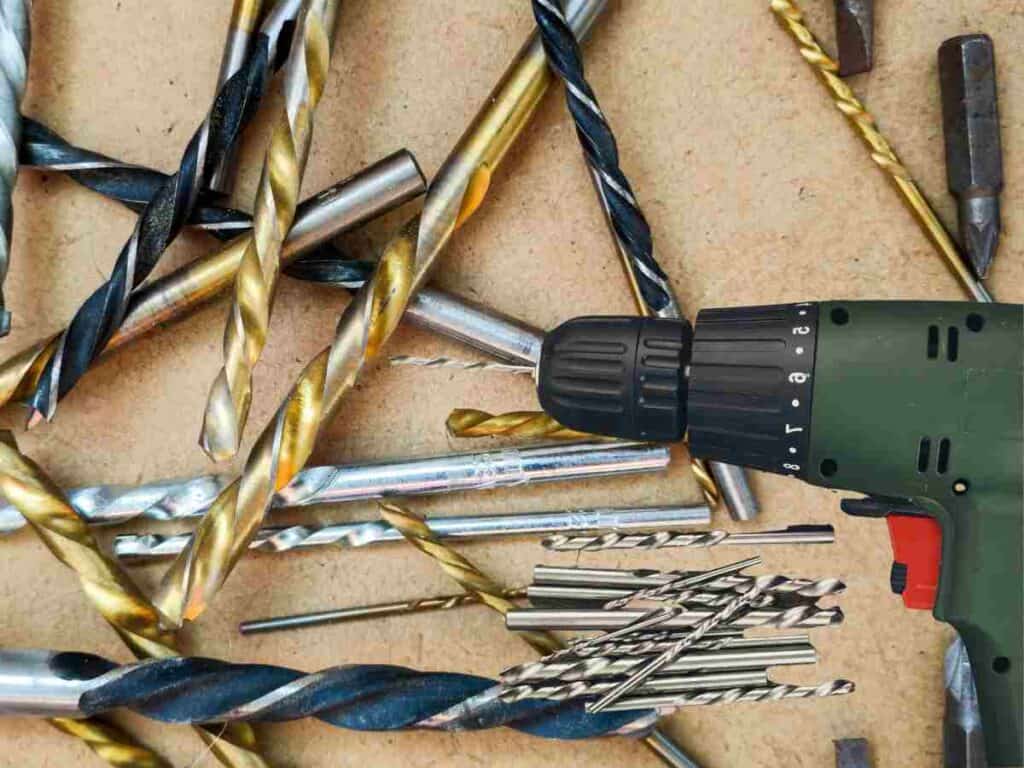
What Are The Tools And Materials Needed To Decorate A Plastic Pot?
Learning how to decorate a plastic planter, few tools are needed for decorating a plastic pot.
We do not need expensive tools when decorating a plastic flower pot. We need those simple things you have at home.
below is the list of things needed to decorate a plastic flower pot
Tools
- Pencil
- Hot Melt Glue Sticks
- 60 W hot glue gun
Materials
- Flowerpot
- Paint
- knobs legs
How To Decorate A Plastic Flower Pot Step By Step
This section will teach you how to decorate your plastic planter with simple tools and materials.
You can also learn how to make a pot with fabric.
Now let us look at the step needed to make this beautiful design.
Learn how to make clay pots by hand.
1. Decorate The Pot With Hot Glue
To start customizing the pot, get your hot glue gun ready. You can create a raised pattern to decorate the plastic surface with hot glue, then cover it with paint.
In this case, we have written a message and added a small line at the top. Still, the possibilities are endless: more elaborate drawings and cool patterns.
Learn what a bonsai tree is.
Start by tracing the design you have chosen with the help of a pencil.
When you have it, gradually apply the hot glue, following your drawn lines.
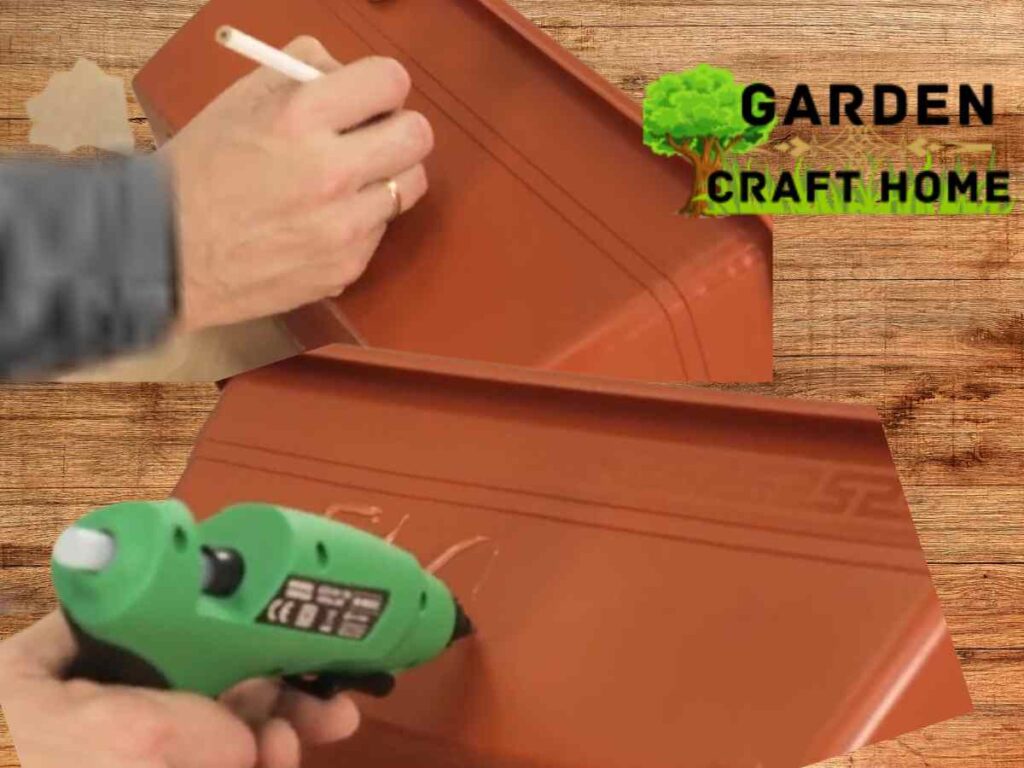
When you’re done, let it dry and prepare the paint to decorate the pot.
Also, read how to grow and care for bonsai trees. [Link]
2. Paint The Plastic Pot
It’s time to start painting the pot when the glue is dry.
To do it, we have used a bit of pastel blue chalk paint, although you can also use another type of paint, such as acrylic -as long as it is multi-material.
Give it the necessary layers of paint to cover the relief well and let it dry.

As the pot is made of plastic with little adhesion, we recommend applying a primer for plastics before painting.
Also, learn the types of planters.
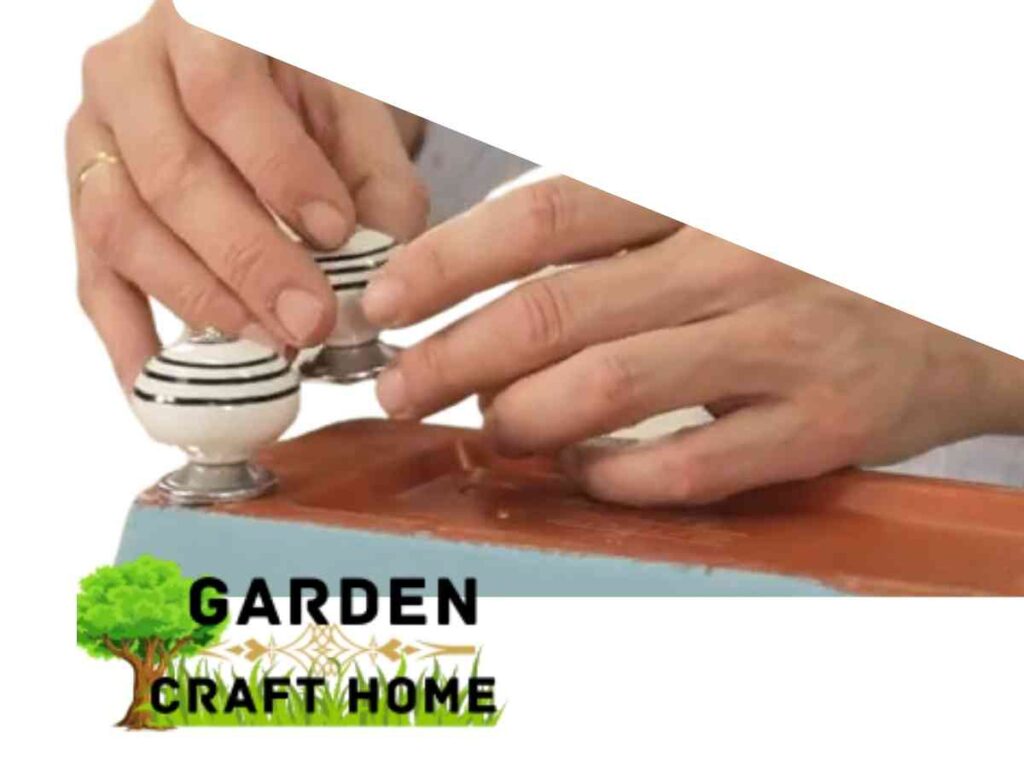
3. Attach The Legs To Your Decorated Plastic Pot
You almost have your pot decorated! When the paint is dry, give it the last touch: stick knobs on the base to give the pot four legs and lift it off the ground.
To do this, use a hot glue gun and some hot glue: apply some adhesive to each of the knobs and stick them to the bottom corners of the pot, pressing down slightly.
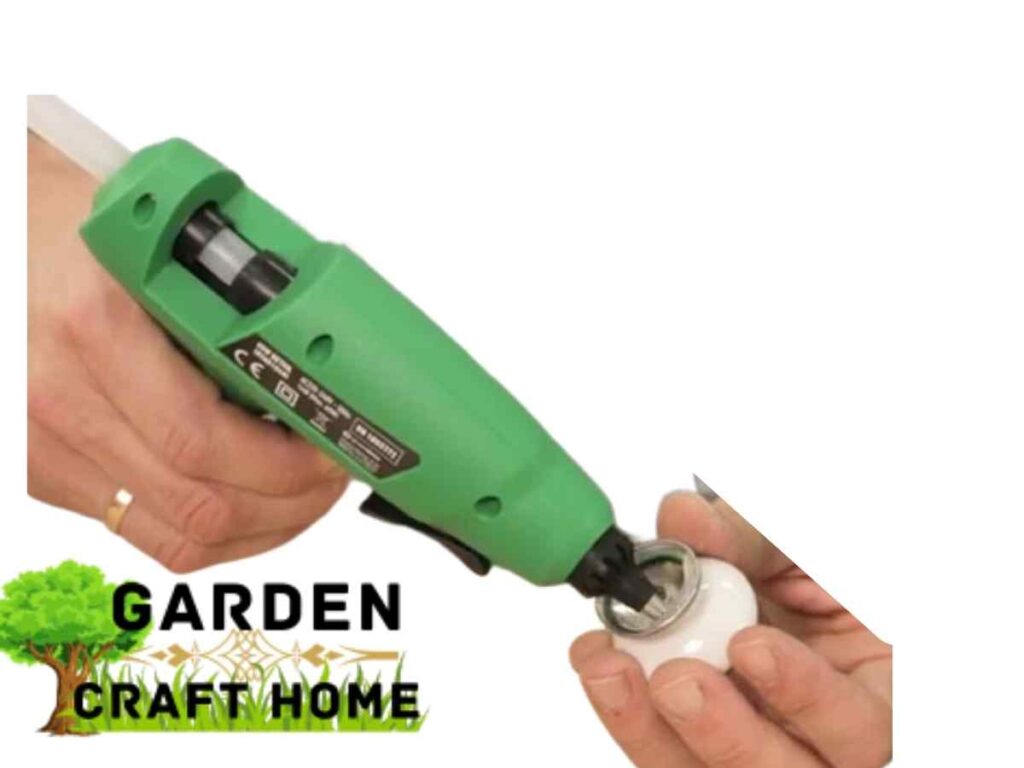
Use a suitable queue for this application, as not all will work.
In this case, we have used Salki’s glue sticks for difficult materials designed for applications on non-porous surfaces such as PVC, methacrylate, or other plastics.
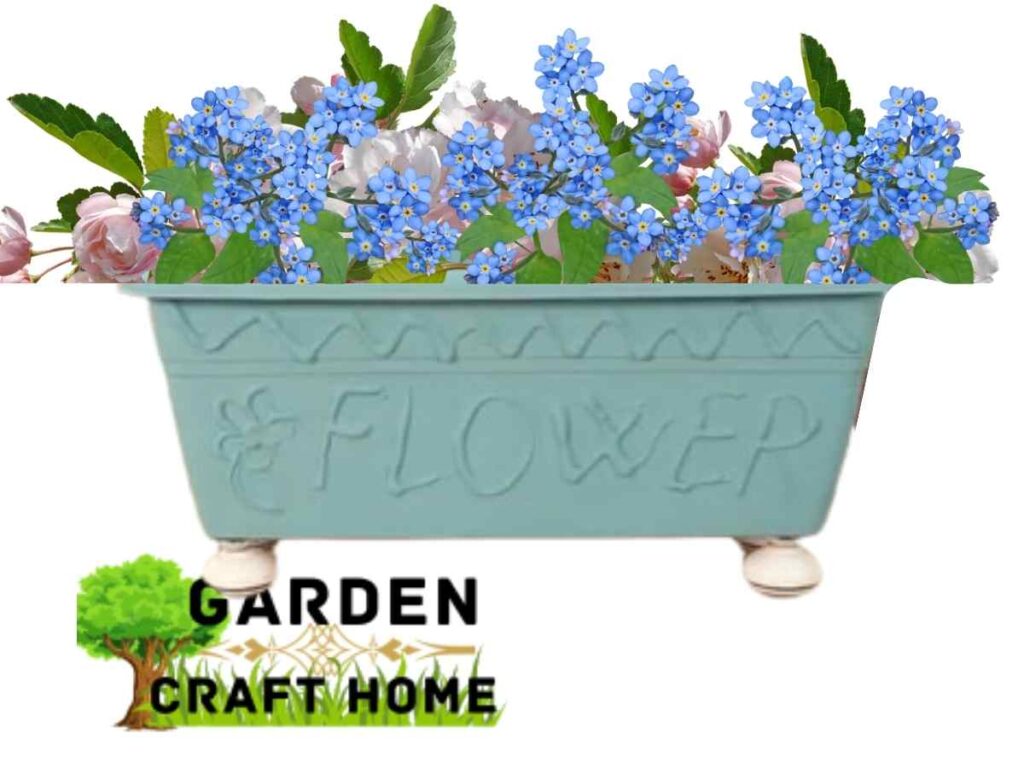
It’s over! It’s easy to go from a basic plastic planter to a cool pot with personality. What do you think about the change?
Learn the best soil for snake plants.
Summary
Now you know how to decorate a plastic pot; it is also important you have another feeling of touching your home by learning how to make a fabric pot.
Use any ports you like and any glue available in your area. Do not bother getting the exact material I get.
Similar article
How to make a wooden terrace planter.
How to make a planter with bricks.
How to make a small wooden planter.
How to make a garden with a wooden planter.
How to make a planter with sleeper wood.
What to look for when choosing a planter.
Etc.