Learning how to make fabric pots is very economical if you don’t want to buy from the market or want a custom design.
It’s time to innovate a bit with your pots. How about making a fabric pot? You only need geotextile fabric, waterproof fabric, and extra-strong adhesive tape.
It’s very simple to do. Let’s jump into the practical part.
You can add a custom design to other ports, such as a plastic pot. I have an article that shows how to design and customize a plastic pot with simple steps.
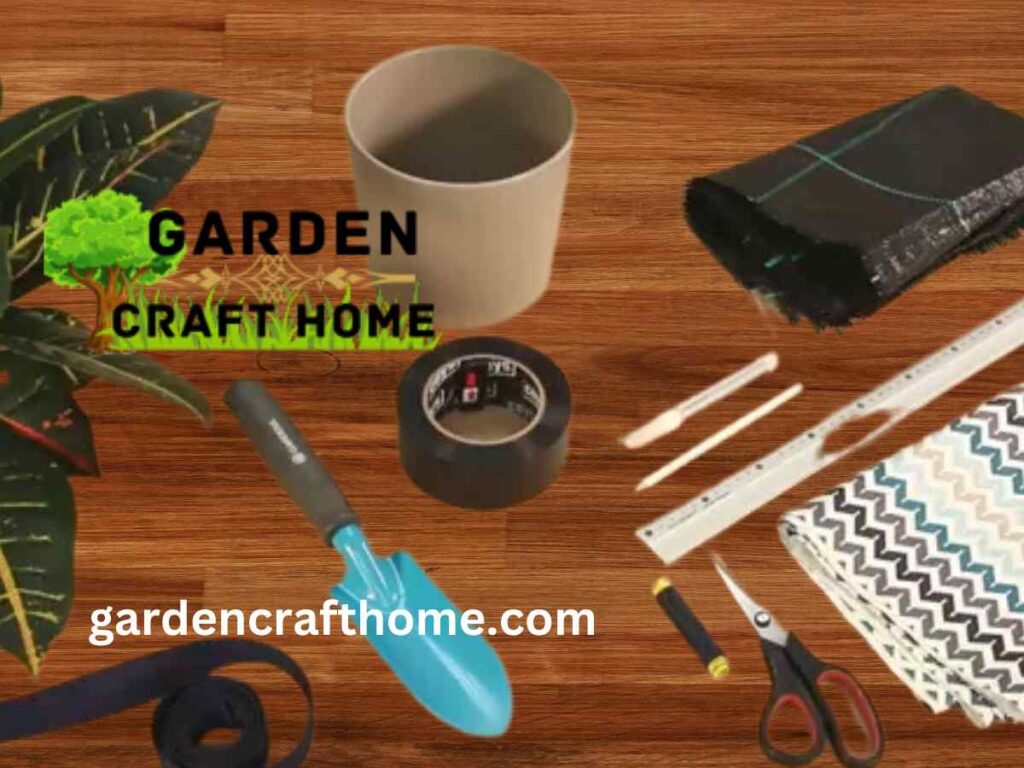
Tools And Materials Needed To Make And Custom A Fabric Pot.
You can make a square fabric pot or any shape you desire, but in this one, we are going to make a fabric that looks like a round, but that looks like a cylinder.
Utilizing these tools will make our work easy
Tools
Needle
Pencil
Flowerpot
garden spade
Ruler
white marker
Scissors
Materials
- backpack strap
- extreme repair tape
- Thread
- Plant
- Waterproof or resin-coated canvas
- geotextile fabric
How To Make A Fabric Pot Step By Step
The steps to make a fabric pot is easy. It needs no acquired skill or professional knowledge to make this.
Provided you love creation and craft work, you can do this. A child of 10 years can perfectly handle this project.
If you love fibrous projects, learn how to make a hanging planter with a ceramic plate and fabric.
I know you will love it because it is very beautiful and you can keep it in your bedroom, sitting room or hallway.
So let’s get started.
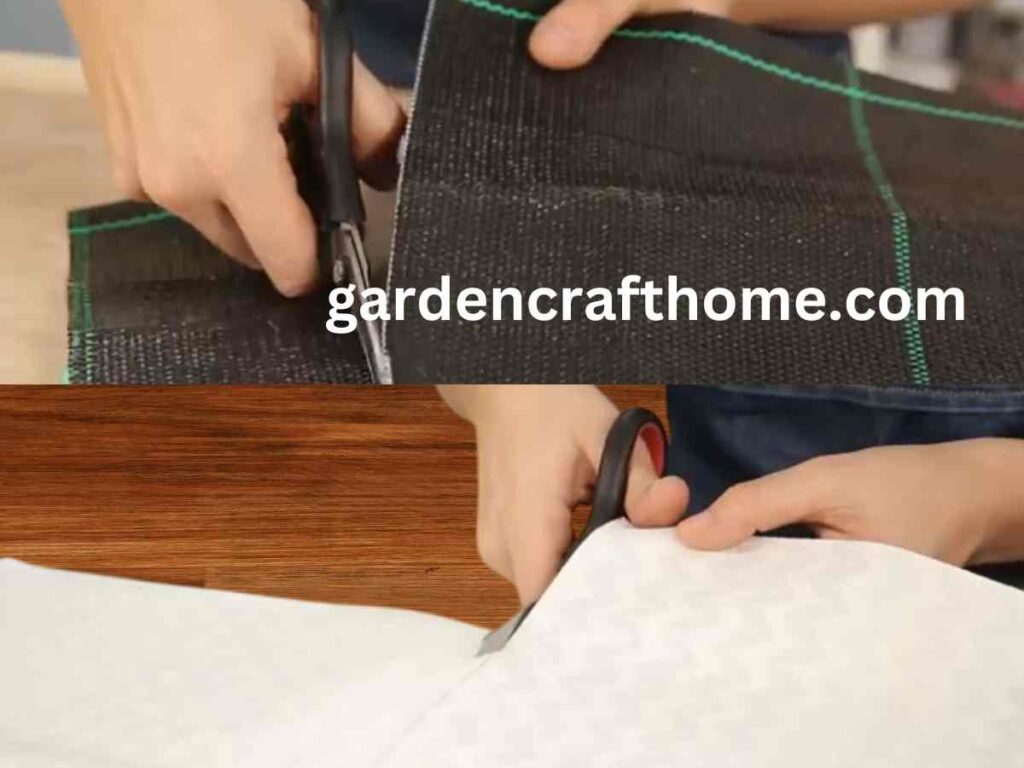
1. Measure And Cut The Fabric
We need a normal pot to use as a guide or reference shaping to create your fabric pot.
In addition, Some geotextile fabric for the interior, a waterproof fabric canvas or resin coating for the exterior, and extra strong adhesive tape to join the pieces. You will also need a needle and thread at some point.
First, you must take the measurements, width, and length of the pot you chose as a reference.
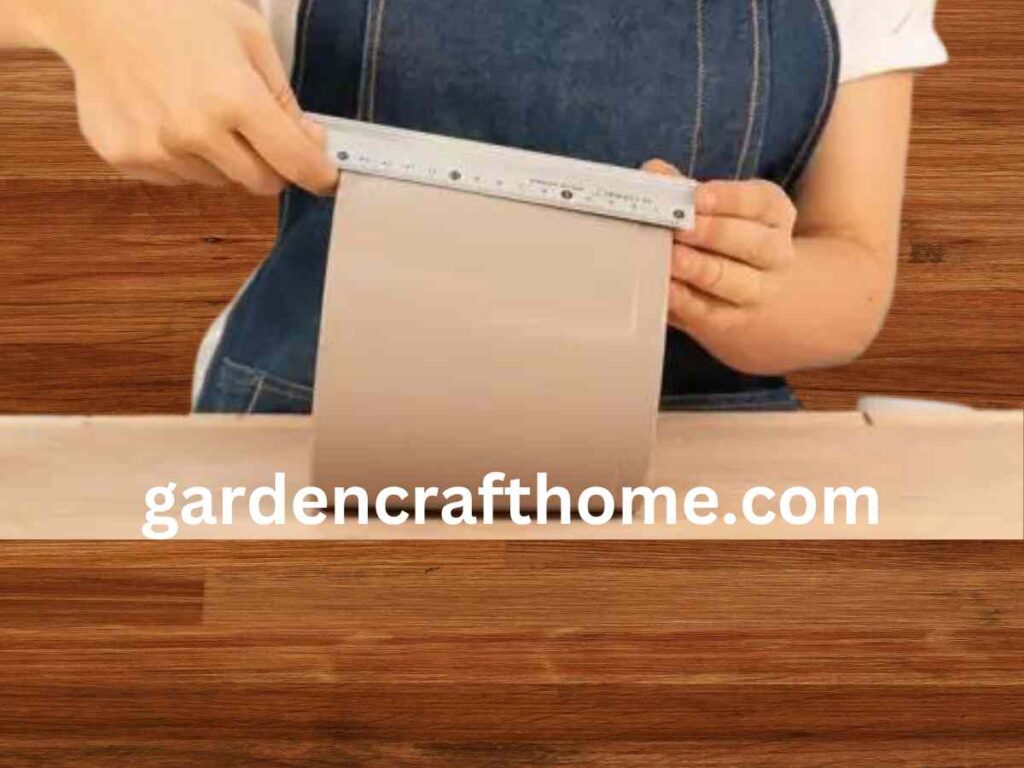
Cut a piece of geotextile fabric to these measurements and use it as a template to cut a piece of waterproof fabric, which will need to be a few inches taller to create a flap.
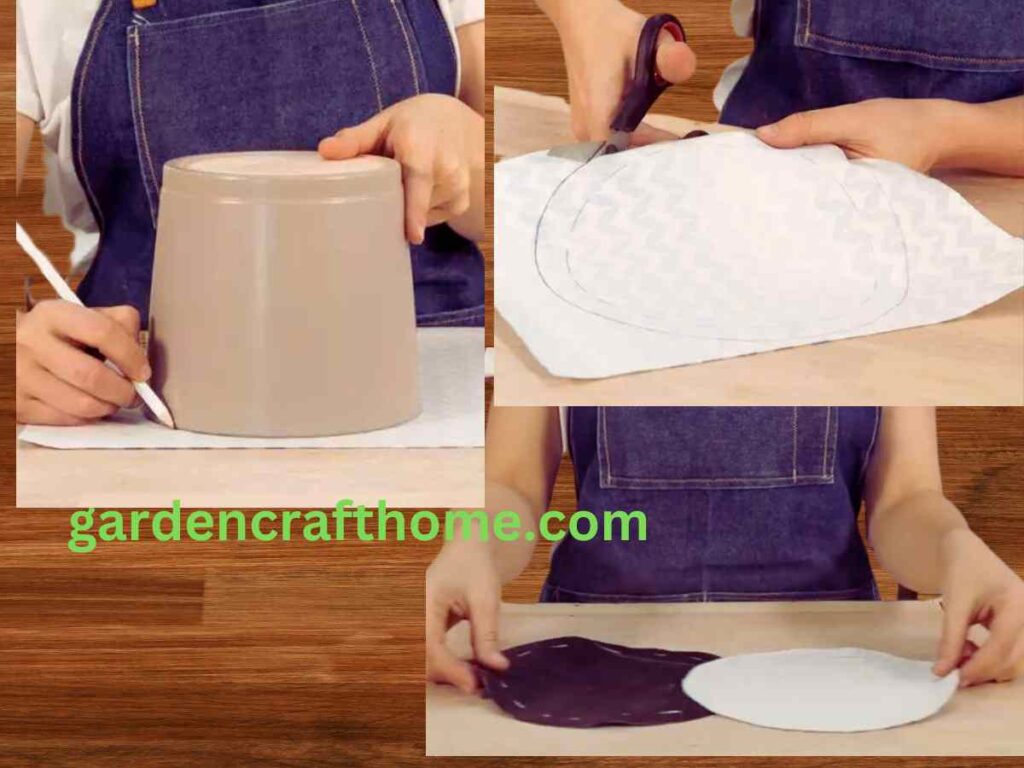
When you have the two pieces of fabric, take the measurements of the base of the pot and add a few centimeters to the diameter of the circumference.
Create two other pieces of fabric, one with the geotextile and the other with the waterproof one.
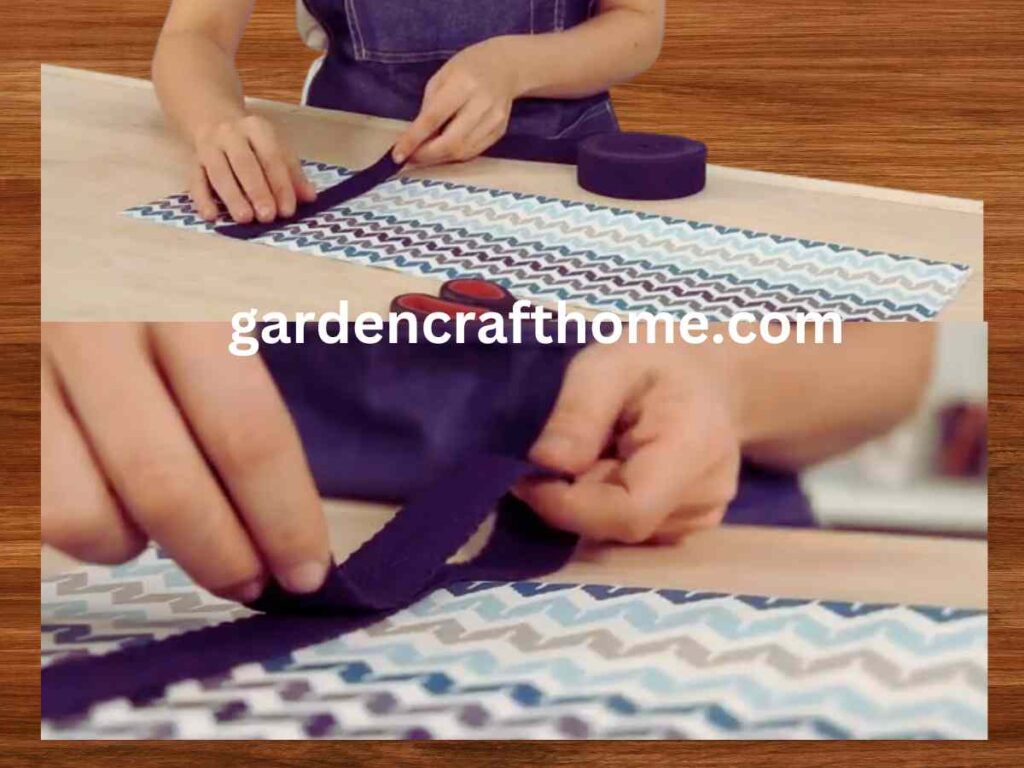
2. How To Make Fabric Pot: Create A Pair Of Handles For The Pot
Create a fabric pot holder. You can make a pair of handles with some backpack tape to transport the pot more easily. A very resistant type of fabric that is easy to sew.
With the piece of waterproof fabric spread out on the table with the folded flap, calculate the backpack fabric you need and cut it with the help of scissors. Cut two equal pieces.
3. How To Make Fabric Pot: Shape The Planter
Time to shape the planter Use strong masking tape to join the main pieces of fabric. Make sure that it can support the weight of the pot and that it is waterproof.
We have used the Ceys x10 Waterproof tape an ultra-strong tape resistant to water and different temperatures.
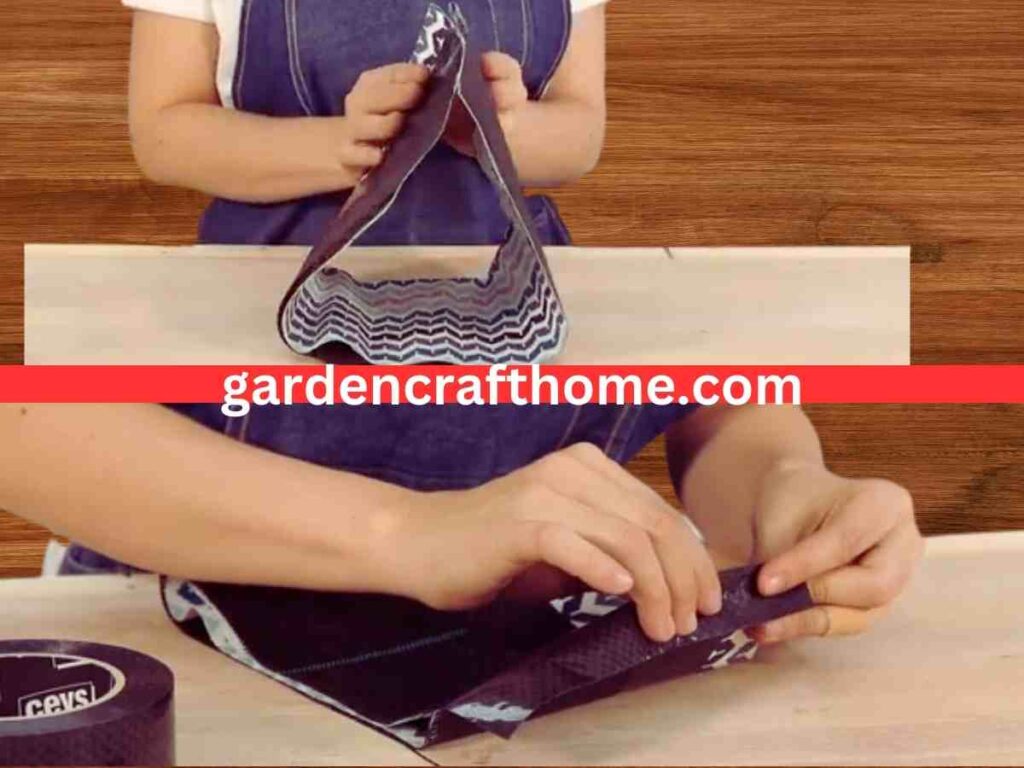
First, lay the waterproof fabric face down on your work surface and place the geotextile fabric on top, matching its edges.

Fold the flap of the waterproof fabric over one end of the geotextile fabric, and secure the seam with some tape.
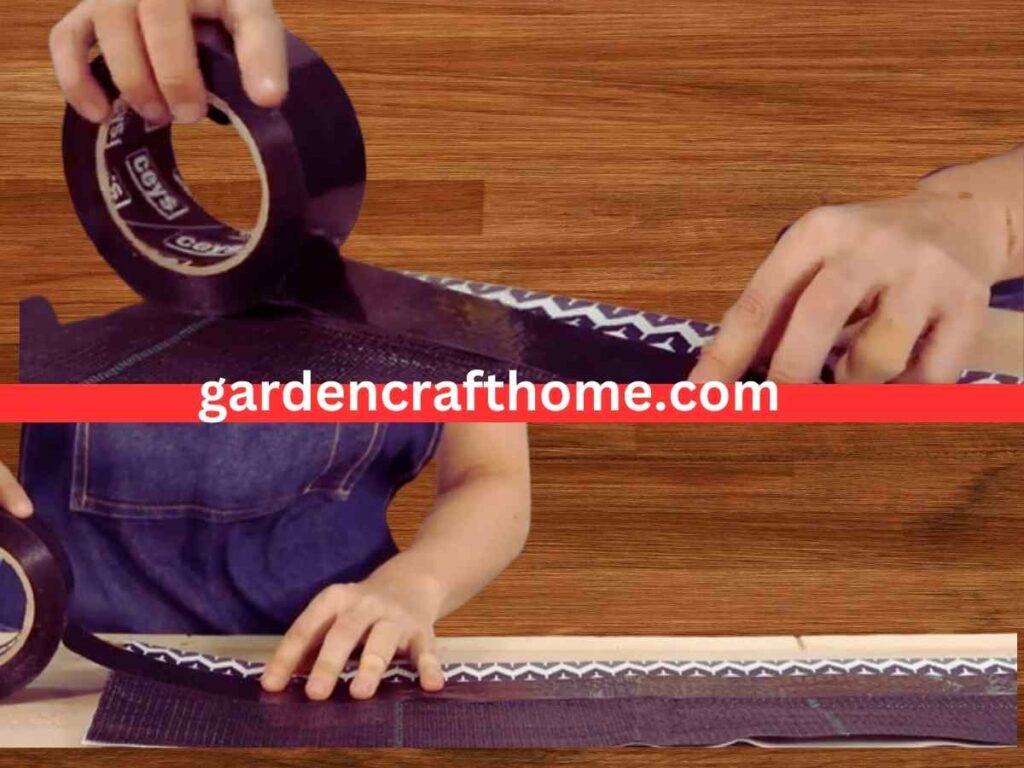
Once you have a single piece, it is time to join its ends, giving it the cylindrical shape of the pot. To do this, use the adhesive tape again.
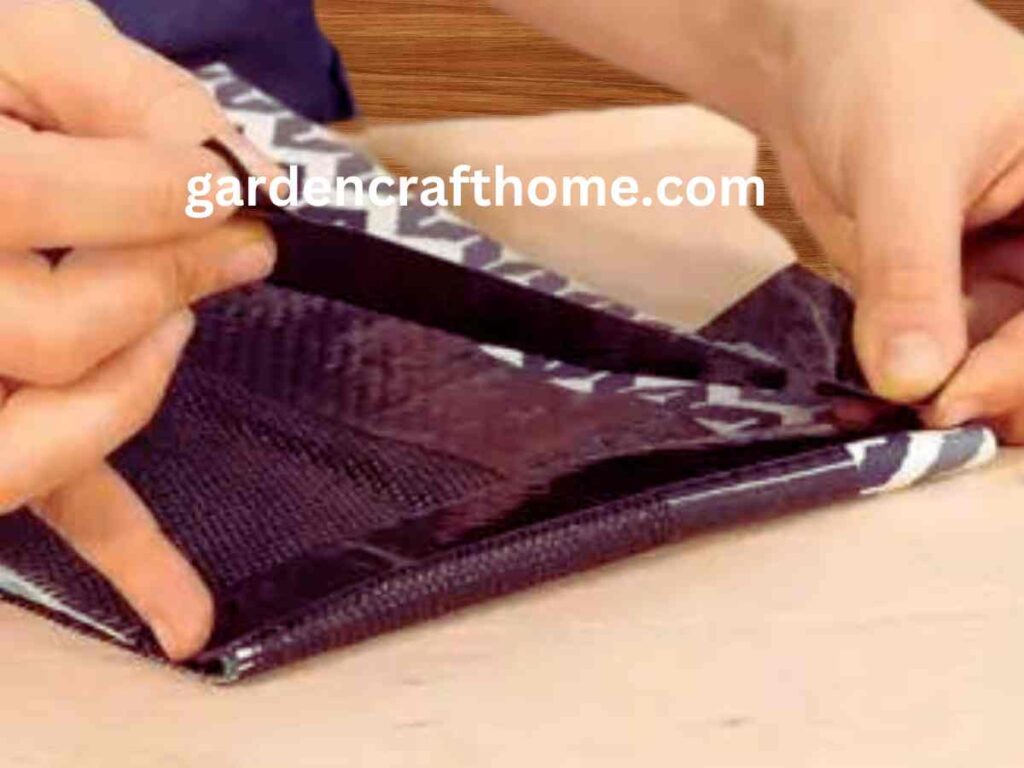
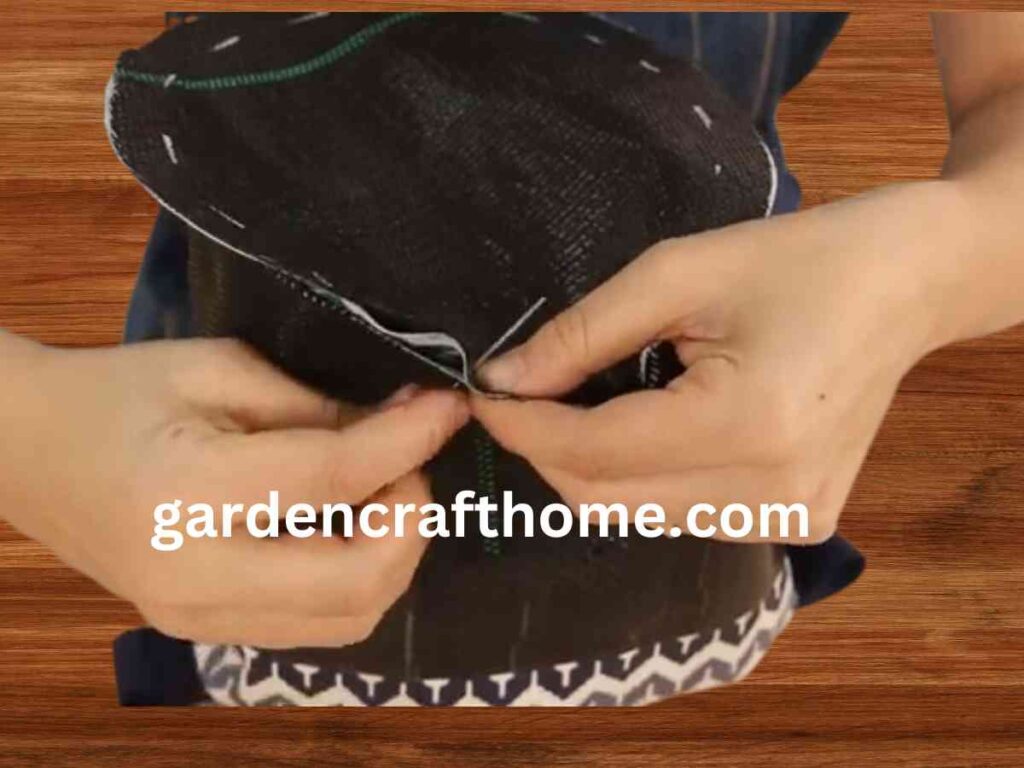
After taping the edge of the geotextile fabric and waterproof fabric, Bend the edge about 3cm towards your right or lift and tape it again. The image below is a guideline.
Turn the front of the fabric and fix the handles in the place you decide. In this case, to achieve an efficient and resistant result over time, it is best that things.
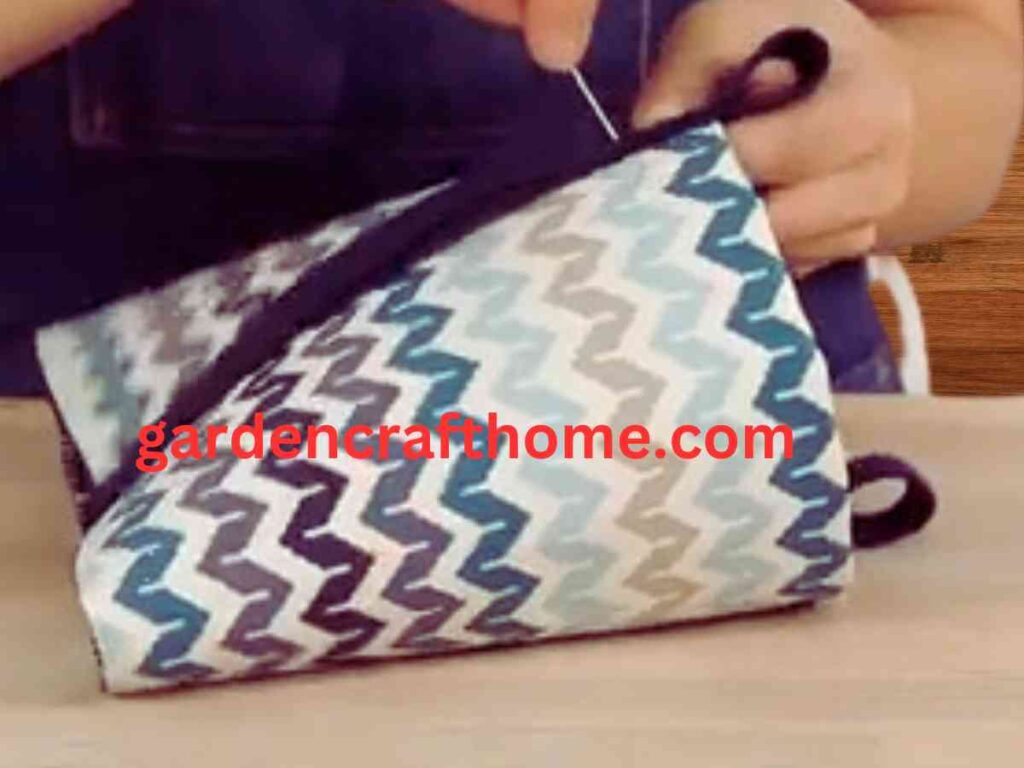
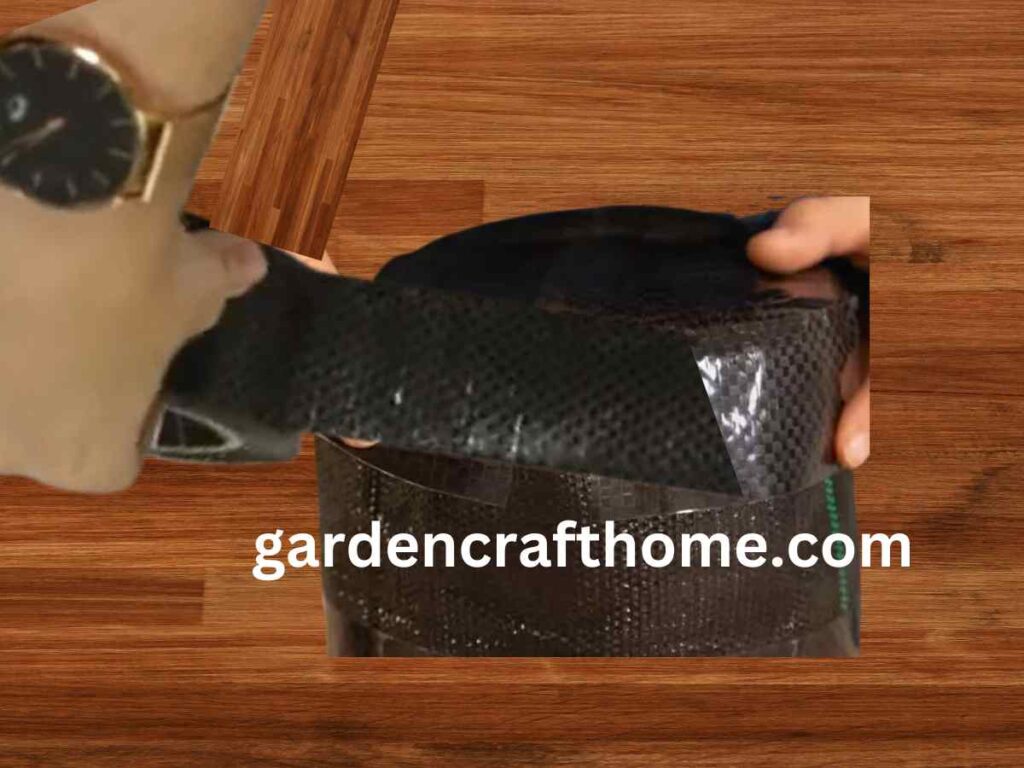
After sewing the handles, it’s time to attach the circular base to the pot.
Flip the piece you’ve already created over, leaving the geotextile fabric on the outside, and sew the two circular pieces on the bottom, matching the edges.
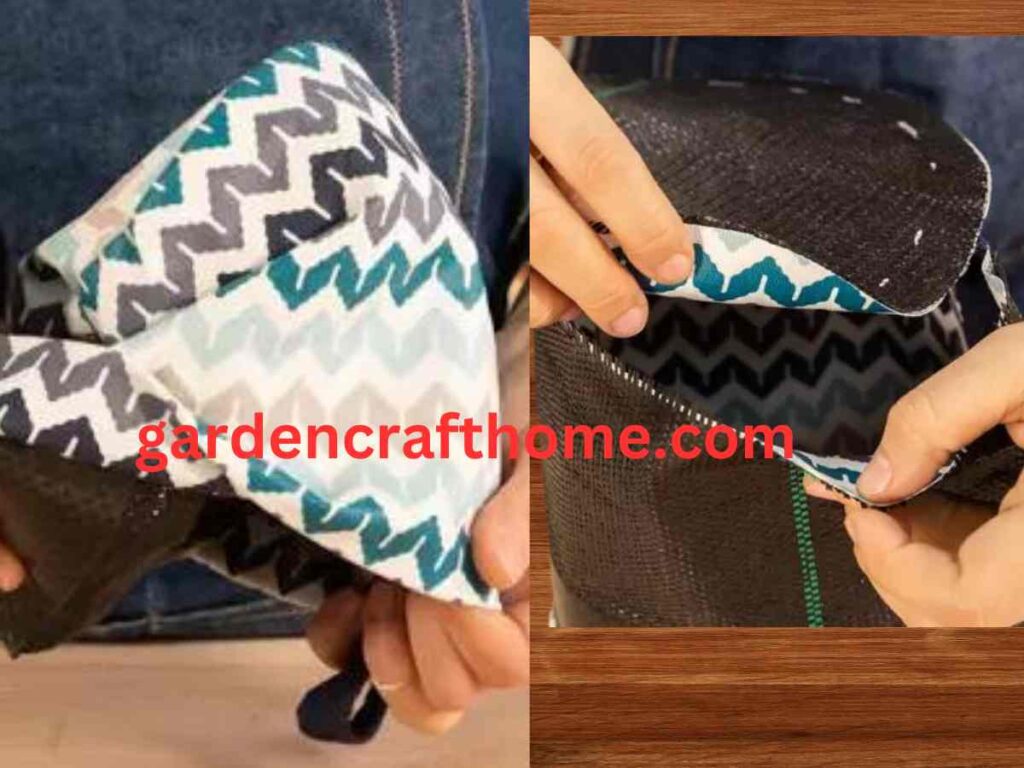
Then, cover the base with a bit of tape to make it more resistant, paying special attention to the joint between the different pieces of fabric. This way, you will avoid leaks.
I encourage you to know how to make a vertical succulent garden with a frame.
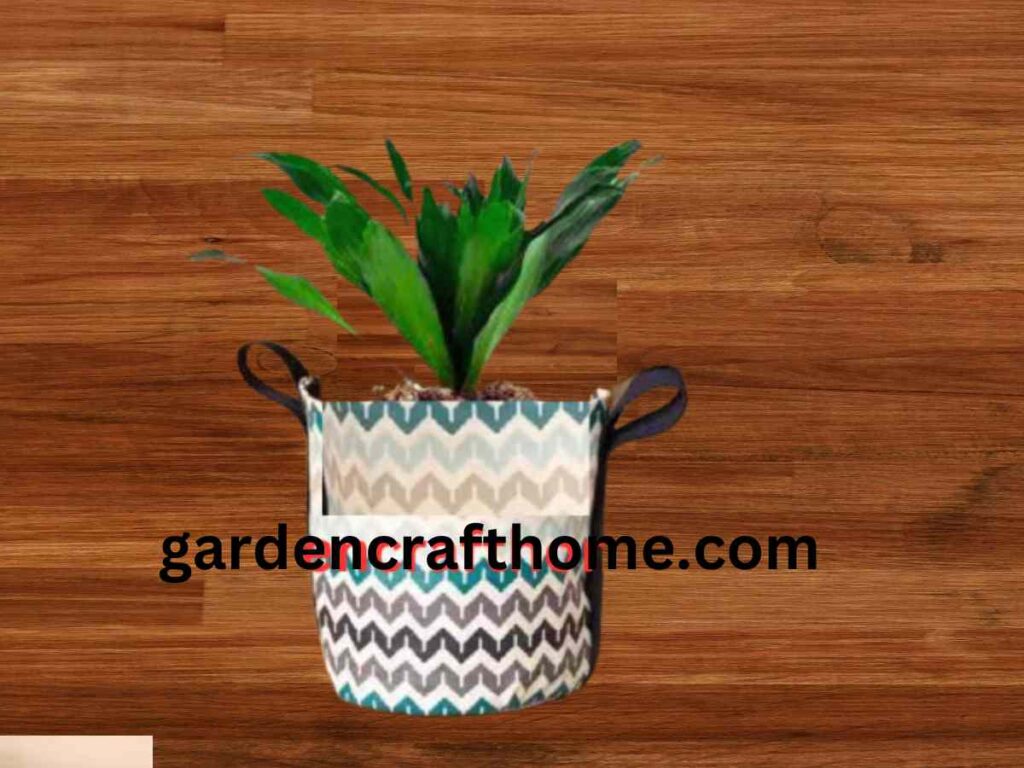
4. Transplant Your Plant
You already have your flexible pot almost finished! Turn the piece over, leaving the waterproof fabric outside, and transplant your plant.
Pour a little soil over the pot, insert your plant’s root ball, and cover it with more soil. Water with a little water, and voila
Did you like this tutorial? Tell us about it and any questions, observations, or suggestions.
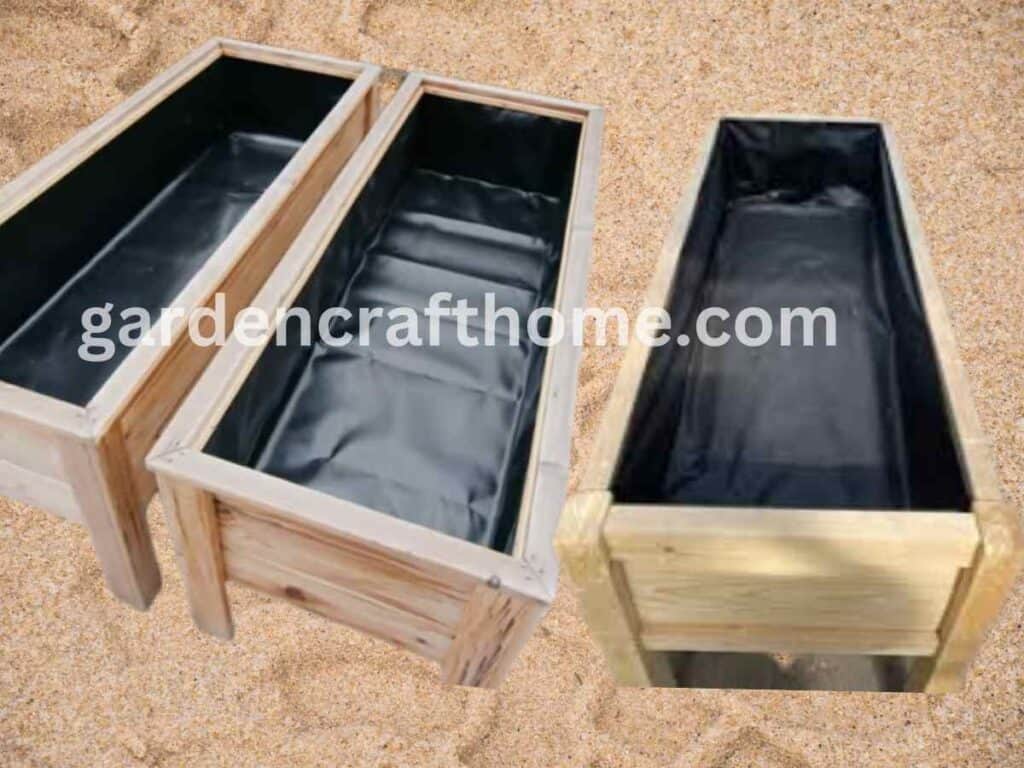
Also, we encourage you to look at how to make a wooden terrace planter.
Conclusion
We do our completion on how to make a fabric pot. Remember to use quality fabric material for the construction of a fabric pot.
I recommend you use a material that can’t easily get dirty because we are dealing with soil.
I encourage you to read the best soil for snake plants.